Charles Miller is a veteran bike enthusiast with over 12 years of experience dealing with bikes as a mechanic. Despite immense love and expertise for...
While you might think testing an electric bike controller is a task best left to professionals, it's actually something you can accomplish on your own with a bit of know-how.
By understanding the basic functionality of the controller and the common signs of a malfunction, you can diagnose the problem and even rectify it yourself.
Remember, being able to test and fix your e-bike controller not only saves you cost but also reduces downtime.
So, ready to get your hands a little dirty and your e-bike back to its top-notch performance? Let's get started.
- Key Takeaways
- Understanding the E-Bike Controller
- Recognizing a Faulty Controller
- Disconnecting the Battery Safely
- Locating the Controller
- Inspecting the Controller Connections
- Voltage Testing Procedure
- Examination of the Circuit Board
- Common Controller Issues
- Tools for Controller Testing
- E-Bike Controller Maintenance Tips
- Frequently Asked Questions
- Conclusion
Key Takeaways
- The e-bike controller serves as the brain of the electric bike, controlling speed and power.
- Testing a faulty controller can be done using a multimeter or e-bike tester.
- Signs of a faulty controller include reduced power output, inconsistencies in speed, unresponsive pedal assist, abrupt changes in acceleration without input, and unusual behavior.
- When disconnecting the battery, ensure the e-bike is off, use insulated gloves and tools, carefully remove the connectors, and store the battery in a cool, dry place.
Understanding the E-Bike Controller
To fully grasp the function and importance of an e-bike controller, it's crucial to understand that it serves as the brain of the electric bike, controlling the speed and power of the motor for smooth acceleration and deceleration. This understanding the e-bike controller allows you to appreciate how this device is an essential component in the performance and efficiency of your electric bike.
The controller operates by managing the power received from the battery to the motor, thereby determining the speed of your bike. It's responsible for making your ride smooth and seamless, whether you're accelerating or slowing down.
Testing your e-bike controller can be done using a multimeter or an e-bike tester. These tools allow you to evaluate the performance of your controller, ensuring it's optimizing the motor's power and speed. For testing, you'll need a multimeter, e-bike controller, battery or external power supply, activation or key switch wire, and hall sensor wire group.
Recognizing a Faulty Controller
Spotting a faulty controller in your e-bike might include symptoms like:
- Reduced power output
- Inconsistencies in speed
- Unresponsive pedal assist
- Abrupt changes in acceleration without input
- Unusual behavior such as uncommanded speeding up or slowing down.
When you're recognizing a faulty controller, you're essentially doing a rudimentary diagnosis of the health of your e-bike's brain. It's crucial to recognize these problems in the controller early on, as they can affect your biking experience and even compromise your safety.
An unresponsive pedal assist, for instance, might leave you stranded or struggling uphill. Reduced power output, on the other hand, can lead to slower speeds and reduced overall performance. If your e-bike starts to exhibit inconsistencies in speed or sudden, uncommanded changes in acceleration, it's time to test the electric bike controller.
Remember, a controller in top working condition should:
- Respond accurately to your inputs
- Provide consistent, smooth acceleration and power output
- Maintain the correct pedal assist level, ensuring a comfortable ride.
Disconnecting the Battery Safely
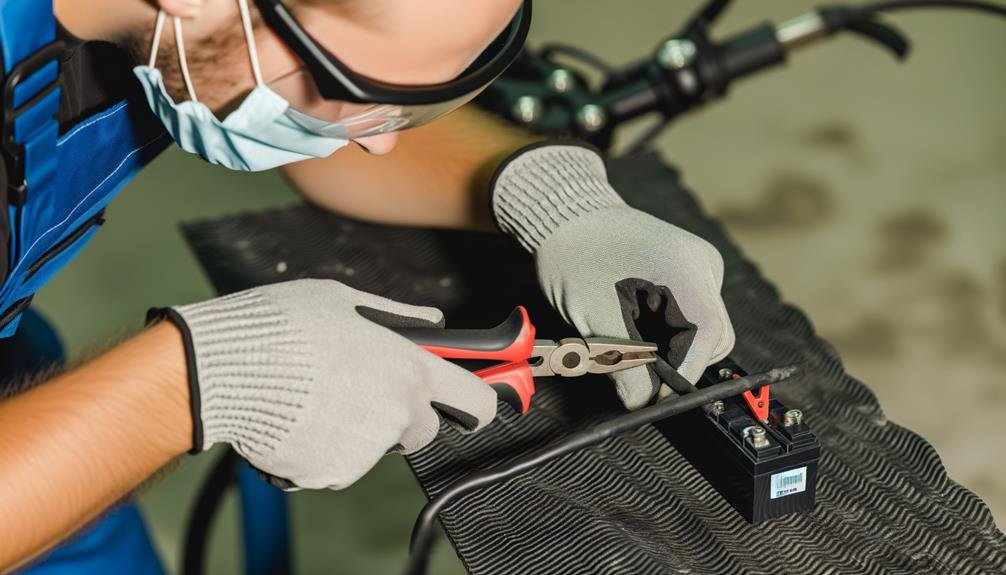
Before you dive into testing your e-bike's controller, it's absolutely crucial for your safety to properly disconnect the battery. This step isn't only about preserving your e-bike's functionality, but also about ensuring your own safety while handling the ebike controller at home.
To start disconnecting the battery safely, follow the steps below:
- Turn off the e-bike and make sure it's not charging. This will reduce any potential electrical hazards.
- Use insulated gloves and tools. This will help protect you from possible electrical shocks due to battery voltage.
- Carefully remove the battery connectors. This prevents short circuits and accidental discharge, which could harm both you and the e-bike.
- Store the disconnected battery in a cool, dry place. Keep it away from flammable materials and direct sunlight to prevent any damage.
Locating the Controller
Once you've safely disconnected the battery, your next task is to locate the controller on your electric bike. The ebike controller is an essential component of your bike's electrical system, typically found near the bike's battery. It might be tucked away within the frame or mounted on the bike's downtube.
Look for a small box with wires protruding from it. This box usually has heat sinks for cooling. Remember, the controller could be under a protective cover near the bike's bottom bracket or even inside the bike's frame. So, don't feel discouraged if you can't find it immediately.
Some electric bikes have the controller integrated into the battery pack or within the hub motor itself, making locating the controller a bit more challenging. If you're having difficulty finding it, check the manufacturer's guidelines or user manual for your specific ebike model.
In the course of locating the controller, be patient and thorough. It's crucial to ensure you've identified the correct component before proceeding with any testing or troubleshooting. After all, precision is key when dealing with electrical systems.
This is your journey into understanding and maintaining your electric bike, and you're doing great!
Inspecting the Controller Connections
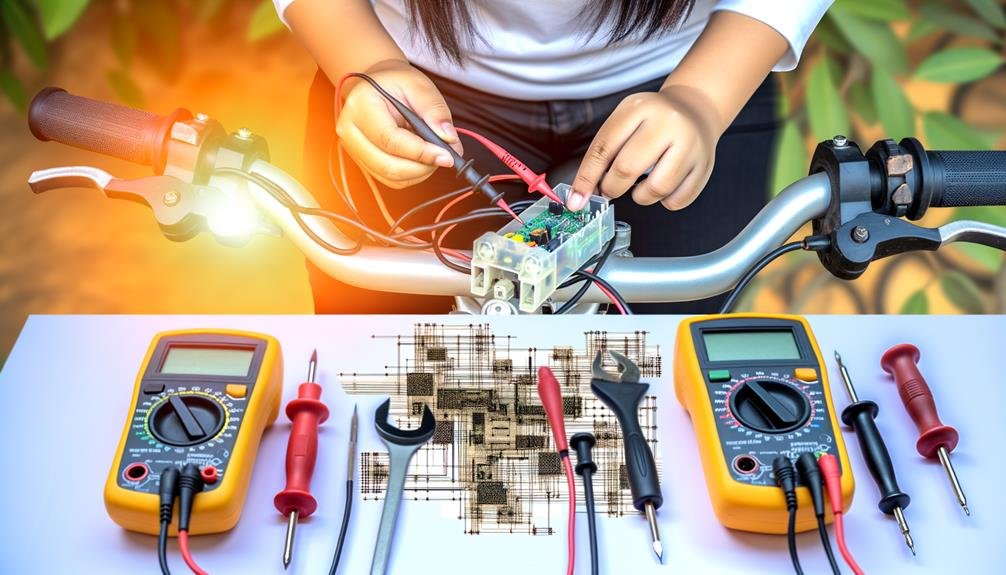
Now that you've located the controller, it's time to carefully inspect its wiring connections, ensuring they're secure, free from damage, and properly aligned. The controller is a crucial component of your electric bike, and thus it's essential to check the controller connections meticulously.
When inspecting the controller connections, you should focus on the following:
- Secureness of the wiring connections: Loose connections can lead to poor performance or even damage to the e-bike. Make sure the wires are securely attached to their respective terminals.
- Presence of any damage: Damaged wires or connectors can result in short circuits or electrical leaks. Inspect for any signs of wear and tear or physical damage.
- Proper alignment of connections: Misaligned connections can prevent the e-bike from functioning correctly. Check for any bent pins or terminals.
- Signs of corrosion or rust: These can impede the flow of electricity and degrade performance over time. Look for any discoloration or rusty spots.
- Condition of wire insulation: Worn out insulation can lead to short circuits. Confirm the insulation is intact and in good condition.
Voltage Testing Procedure
To accurately measure the voltages in your electric bike controller, you'll need to follow a specific set of steps.
First, set your multimeter to the correct voltage range. This is a critical part of the voltage testing procedure. Ensure that your multimeter is accurately calibrated to avoid any discrepancies in your readings.
Next, connect the negative wire of the multimeter to the controller's ground. This is a simple but vital step in establishing a baseline for your voltage tests.
Measure the voltage at the positive supply of each hall sensor wire. You should be testing the red, yellow, blue, and green wires for a voltage of 4.5-5VDC.
To further test the voltage, use your multimeter's diode/buzzer/continuity mode to check the ohmic resistance range of each phase wire. A reading of 415-490ohm is a good indication of MOSFET health.
Lastly, you'll want to confirm 5V on the red throttle wire. Check for voltage changes on the green hall return leg of the throttle when turning it. This will give you a clear understanding of whether your electric bike controller is functioning optimally.
Examination of the Circuit Board
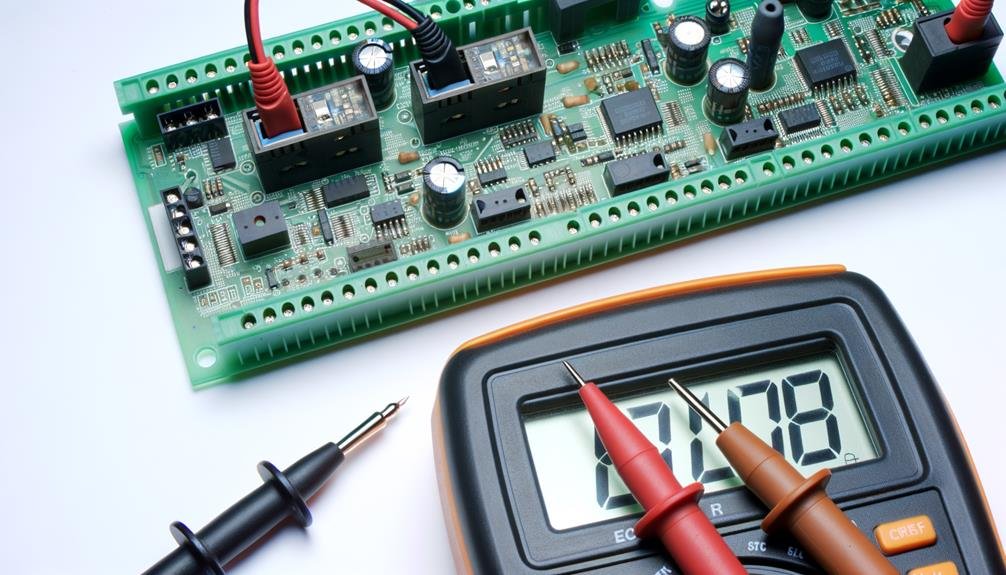
First off, you'll need to identify the various components on the circuit board, understanding their layout and placement. This knowledge allows you to detect any faulty connections or loose solder joints that may impact the controller's function.
Lastly, you'll want to perform a test to verify the voltage output, ensuring the board is distributing power correctly.
Identifying Circuit Board Components
Diving into the heart of your electric bike controller, you'll find the circuit board, a complex landscape of resistors, capacitors, and integrated circuits that demands careful examination. Identifying circuit board components is crucial in understanding how your eBike Controller functions.
Here's a rundown of what to look for:
- Locate key components: resistors, capacitors, and integrated circuits
- Identify power input and output connections
- Check for physical damage or burnt components
- Spot any loose or poorly soldered connections
- Observe any heat sinks or cooling elements
These steps will help you become more comfortable with your electric bike's controller, fostering a sense of belonging to the eBike community.
Detecting Faulty Connections
In the realm of electric bike maintenance, spotting faulty connections on your controller's circuit board plays a crucial role in ensuring optimal performance and longevity. To test an EBike controller effectively, start by visually inspecting the board for damage. Look for signs such as burnt components, melted solder joints, or disconnected wires.
Remember, a detailed, precise examination is key in detecting faulty connections. So, grab a magnifying glass and scrutinize for hairline cracks. Here's a handy guide:
| Task | Signs | Action |
|---|---|---|
| Inspect | Burnt components | Maintenance needed |
| Check | Loose wires | Secure connection |
| Scan | Corrosion | Clean or replace |
| Verify | Faulty solder joints | Resolder |
Understanding how to test electric bike controller and acting right away helps you feel more connected to your e-bike community, knowing you're doing your part in maintaining your ride's health.
Testing Voltage Output
After you've meticulously inspected the circuit board for any signs of physical damage and faulty connections, it's crucial to test the voltage output for consistency and accuracy.
Here, you'll need to test the controller using a multimeter.
- Begin by setting the multimeter to measure voltage.
- Carefully place the probes on the points indicated in your controller's manual.
- Note the multimeter reading. It should be consistent and within the manufacturer's specifications.
- Test under various conditions, ensuring the reading doesn't fluctuate.
- Lastly, investigate any irregularities in the voltage output, as they could indicate a more serious issue.
Common Controller Issues
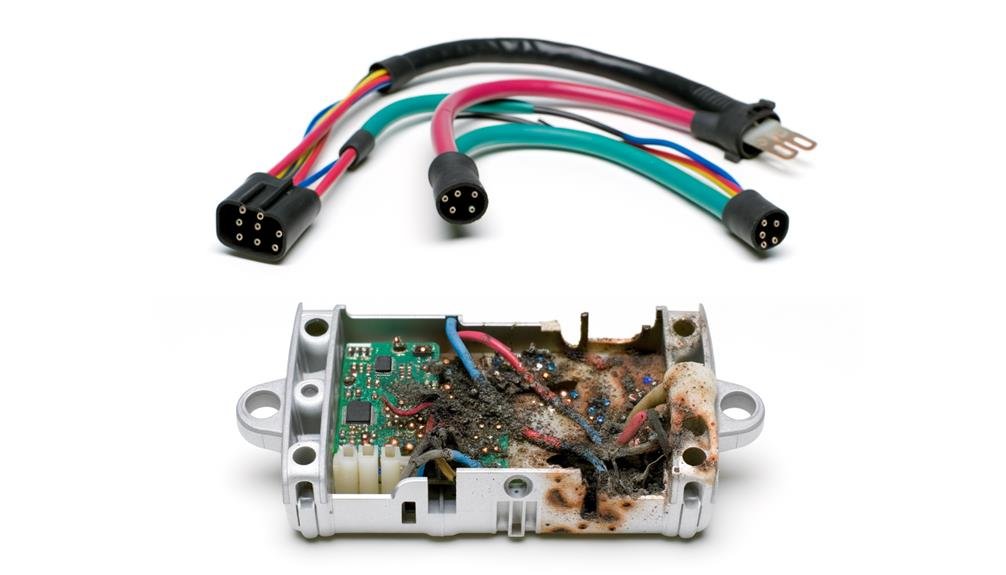
As you test electric bike controllers, you'll likely encounter a range of common issues. These may manifest as erratic behavior, power loss, inconsistent operation, error codes, or overheating.
Understanding these symptoms and their underlying causes is key to effectively troubleshooting and resolving controller malfunctions.
Identifying Controller Problems
You might experience several common controller issues with your electric bike, such as reduced power output, inconsistent speeds, unresponsive pedal assist, sudden loss of power, or erratic behavior of the controller's power output. In these instances, the controller is an essential component to test. Identifying controller problems early can save you a lot of hassle down the line.
Here are some issues to keep an eye out for:
- Decreased performance or reduced power output
- Uneven or inconsistent speeds or acceleration
- Motor doesn't engage when pedaling, indicating an unresponsive pedal assist
- Sudden deceleration or loss of power during a ride
- Erratic changes in speed without your input
Common Malfunction Symptoms
When your electric bike's controller starts acting up, it's crucial to recognize common malfunction symptoms. Reduced power output, inconsistent speeds, unresponsive pedal assist, sudden drops in speed or acceleration, and uncommanded changes in speed are all signs your EBike's controller is on the fritz.
To help you understand better, here's a table summarizing these symptoms:
| Symptom | Possible Cause | Solution |
|---|---|---|
| Reduced Power Output | Faulty Controller | Test/Replace Controller |
| Inconsistent Speeds | Wiring Issues | Check/Repair Wiring |
| Unresponsive Pedal Assist | Sensor Malfunction | Test/Replace Sensor |
| Sudden Drops in Speed/Acceleration | Battery/Controller Issue | Test/Replace Battery or Controller |
| Uncommanded Speed Changes | Faulty Throttle | Test/Replace Throttle |
Solving Controller Issues
Tackling common controller issues begins with a thorough examination for reduced power output on your electric bike. Understanding how to test electric bike controller will help you identify whether the controller is working or not.
Solving controller issues involves more steps:
Firstly, check for inconsistent speeds. Does your bike accelerate or decelerate erratically?
Test the pedal assist. Is it unresponsive or overly sensitive?
Notice any sudden drops in speed or acceleration. This could point to a faulty controller.
Lastly, observe if your bike speeds up or slows down without any input from you.
Tools for Controller Testing
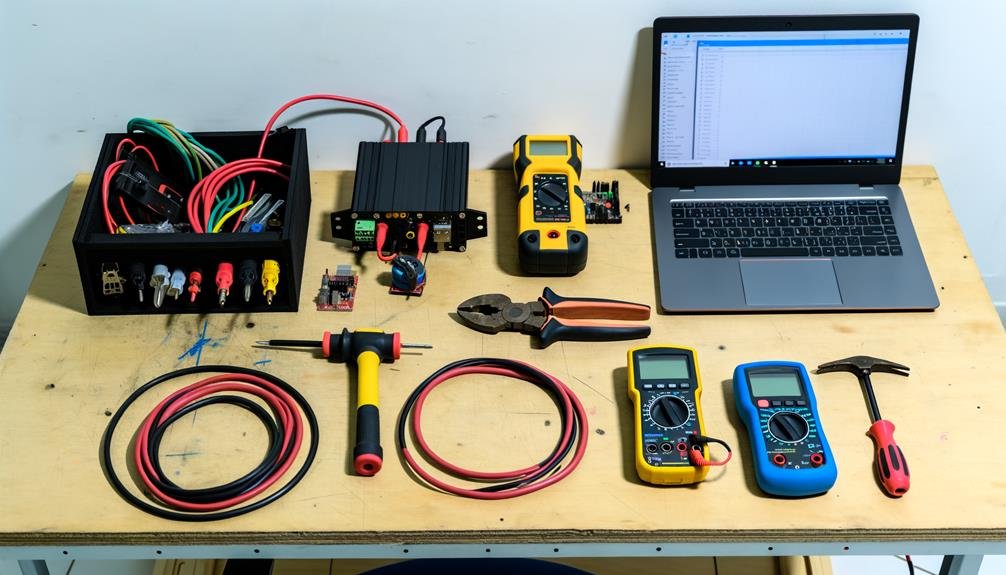
Diving into the realm of electric bike controller testing, it's essential to arm yourself with the right tools. These tools include a multimeter, e-bike tester, hall sensor voltage tester, controller MOSFET tester, and a throttle and hall sensor tester.
Your multimeter is a vital tool; it measures the voltage, resistance, and continuity within the controller's components, allowing you to precisely test the electric bike controller.
An e-bike tester, designed specifically for e-bike controllers, presents you with detailed diagnostics and analysis, facilitating an in-depth understanding of the controller's operation.
The hall sensor voltage tester measures the voltage output of the hall sensors to ensure they're within the specified range. It's an essential component in your toolkit for controller testing.
Your controller MOSFET tester checks the ohmic resistance of the controller's MOSFETs, helping you to identify any damaged components swiftly and accurately.
Lastly, the throttle and hall sensor tester enables you to test the throttle functionality and assess the integrity of the hall sensor wires, both crucial for diagnosing controller issues.
E-Bike Controller Maintenance Tips
In maintaining your e-bike controller, regular inspection of the connections and wiring not only ensures security but also checks for any damage. This is a crucial component of e-bike controller maintenance tips and it's something you shouldn't overlook, even if you're confident in your bike's performance.
To enhance the longevity and performance of your e-bike controller, consider these tips:
- Regularly check the controller's connections and wiring, ensuring they're secure and damage-free.
- Protect your controller from moisture, heat, and physical damage. These elements can cause malfunctions and shorten its lifespan.
- Test the controller's voltage output with a multimeter. It should fall within the specified range.
- Use an ohmmeter to check the resistance of the motor coils. This can highlight potential controller issues.
- Test the controller at different speeds and loads to spot any inconsistencies or faults.
Understanding how to test electric bike controller components and keeping up with regular maintenance won't only keep your e-bike running smoothly but also help you feel a sense of belonging in the e-bike community, knowing that you're taking the best care of your ride.
Frequently Asked Questions
How Can I Test My Ebike Controller at Home?
You can test your ebike controller at home using basic tools. With your multimeter, check the voltage output, hall sensor wires and ohmic resistance. Don't forget safety precautions during this controller maintenance process.
How Can You Tell if an Ebike Controller Is Bad?
You'll notice controller symptoms if your e-bike's power output reduces, speeds vary, or pedal assist isn't responsive. If these persist, it's likely you're facing controller issues needing replacement to restore your e-bike's performance.
How Do You Test an Electric Motor Controller?
You'll need to maintain your controller's specifications. Use advanced testing techniques like a multimeter to check voltage, resistance, and continuity. Make sure it's functioning correctly to ensure optimal performance and safety.
How Do I Troubleshoot My Ebike Controller?
To troubleshoot your ebike controller, first, identify possible controller issues. Then, apply diagnostic techniques like using a multimeter or an ebike tester. If necessary, follow up with repairing controllers to ensure a smooth ride.
Conclusion
In sum, testing your e-bike controller is crucial to ensure a smooth and safe ride. For instance, rider John Doe once ignored a faulty controller, leading to unexpected motor cut-offs. Avoid such situations by diligently following these steps:
- Understand the controller
- Recognize faults
- Disconnect the battery
- Locate and inspect the controller and its connections
- Examine the circuit board
- Regularly perform maintenance
Armed with the right tools, you can tackle common controller issues and keep your e-bike in top shape.

Charles Miller is a veteran bike enthusiast with over 12 years of experience dealing with bikes as a mechanic. Despite immense love and expertise for his Tacoma, he rides his Trek Ebike more. Anytime you meet him, you’ll either hear him talking about Bikes, or writing about all things bikes and cars on this blog.
More Posts
