Charles Miller is a veteran bike enthusiast with over 12 years of experience dealing with bikes as a mechanic. Despite immense love and expertise for...
Much like the famed Sherlock Holmes needed his magnifying glass to solve mysteries, we need some basic tools and a keen eye to fix an electric bike charger. We'll share some insights into the common issues that can plague your charger, how to identify them, and the steps we can take to bring it back to life.
Our journey will take us through the maze of circuits, resistors, and diodes, but don't worry, we're here to guide you every step of the way. Are you ready to put on your detective hat and get to the bottom of your charger's issues?
Let's get started.
Key Takeaways
- The E-Bike charger is designed with a nominal output of 48V12AH and operates at 54.5 volts, tailored specifically to charge 48-volt batteries.
- Common issues with E-Bike chargers include failure to power on, signs of burning or overheating, startup issues, faulty components, and connector damage.
- Troubleshooting and repairing charger issues involve checking for burn signs, testing voltage on main DC capacitor, startup resistor, and charging capacitor, and replacing faulty components if necessary.
- When fixing connector damage, it is important to detect and inspect for wear signs, repair using soldering techniques, test charger functionality post-repair, and protect from future damage using heat shrink tubing.
Understanding Your E-Bike Charger
To fully understand our e-bike charger, we need to know that it's designed with a nominal output of 48V12AH, operating at 54.5 volts, specifically tailored to charge 48-volt batteries. This design ensures a robust, safe, and efficient charging process for your e-bike's volt battery.
Now, let's see what's inside the charger's casing. After removing the two screws at the base, we'll find a complex arrangement of components. The heart of the system is the UC3842IC, a simple SMPS (Switched-Mode Power Supply) controller. It's a clever piece of tech that plays a critical role in maintaining the charger's performance.
Our charger also includes a feedback control system. This uses an optocoupler and a voltage divider network. If you're new to this, think of it as the charger's way of continuously monitoring and adjusting the charging process to ensure optimal performance.
Lastly, always remember safety precautions. We're dealing with live electrical voltage here – one wrong move could lead to serious consequences. Watch out for signs of burning or overheating and check the physical condition of components like the Mosfet. Stay safe, be smart, and belong to the community of responsible e-bike users.
Common E-Bike Charger Issues
As we move forward, we'll tackle common e-bike charger issues.
Starting with identifying charger problems. This involves understanding common symptoms such as failure to power on and assessing the charger's internal circuitry.
Next, we'll look into troubleshooting power issues and fixing connector damage, ensuring your charger functions optimally.
Identifying Charger Problems
In diagnosing common e-bike charger issues, we'll first look for signs of burning or overheating, indicative of potential problems with the charger. We'll analyze the circuit using the IC datasheet to understand its configuration and feedback control system.
Here's a handy table detailing our approach:
| Problem | Solution | Component |
|---|---|---|
| Overheating | Check for burn signs | Charger |
| Startup issues | Test voltage on main DC capacitor, startup resistor, and charging capacitor | Circuit |
| Faulty components | Test Mosfet and gate drive resistor for resistance and diode readings | Diode, Resistor |
If readings aren't as expected, we'll replace the diode and resistor with appropriate values. Together, we'll make your e-bike charger functional again.
Troubleshooting Power Issues
Let's dive into troubleshooting power issues, a common hiccup with e-bike chargers, by first confirming the charger's nominal output to ensure it aligns with your battery's requirements. This testing technique is the first step to resolving power issues.
Here are some steps to follow:
- Inspect the charger for physical damage, overheating, or burnt components.
- Use the IC datasheet to understand the charger's circuit and feedback control system.
- Test the main checkpoints of the circuit.
- This includes voltage measurements on capacitors and startup components.
- Check the Mosfet and gate drive resistor for proper resistance and diode readings.
If any component isn't performing as expected, component replacement is necessary.
We're in this together, ensuring our e-bike chargers are working efficiently and safely.
Fixing Connector Damage
Moving forward from troubleshooting power issues, we now turn our attention to tackling another common problem with e-bike chargers – fixing connector damage. To maintain a reliable connection, it's imperative to check both the physical condition of the connector and the integrity of the wiring. Damaged connectors or wires need to be properly repaired or replaced.
| Steps | Techniques |
|---|---|
| Detect Damage | Preventing corrosion is key. Look for wear signs on the connector. |
| Inspect Wiring | Look for loose or broken parts. |
| Repair | Soldering techniques can be used for repair. |
| Test | Ensure the charger works post-repair. |
| Protect | Using heat shrink tubing can add strain relief, preventing future damage.
Tools Required for Repair
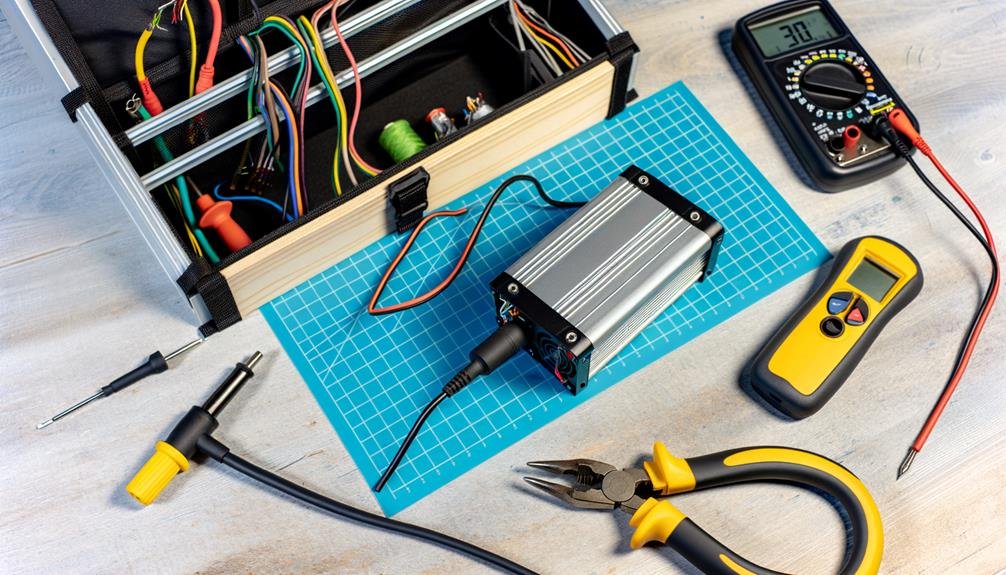
Before we can begin the repair process, it's crucial to gather the necessary tools. These tools include:
- Digital Multimeter: An essential tool for diagnosing the charger's issues. We use it for testing voltage and resistance, as well as checking the health of individual components.
- Soldering Iron and Solder: These tools enable us to fix damaged connections on the circuit board and replace faulty components.
- Desoldering Tools (Pump or Wick): These tools help in removing damaged components and ensuring clean, efficient soldering.
- Needle-nose Pliers: Useful for handling small, delicate components and manipulating wires.
- Screwdriver Set: Needed for opening the charger case and accessing the circuit board.
Understanding and having these tools at hand ensures we can effectively repair our electric bike charger. By learning and doing this together, we build a sense of belonging and share in the accomplishment of maintaining our beloved electric bikes.
Safety Precautions to Consider

Navigating the labyrinth of wires and components in an electric bike charger requires careful attention to safety precautions. Common accidents, such as electric shocks, can occur if we're not mindful. Therefore, it's crucial to disconnect the charger from the power source before venturing into any repairs. Using insulated tools is another way to minimize the risk of electric shock, providing a layer of protection between us and potential electrical hazards.
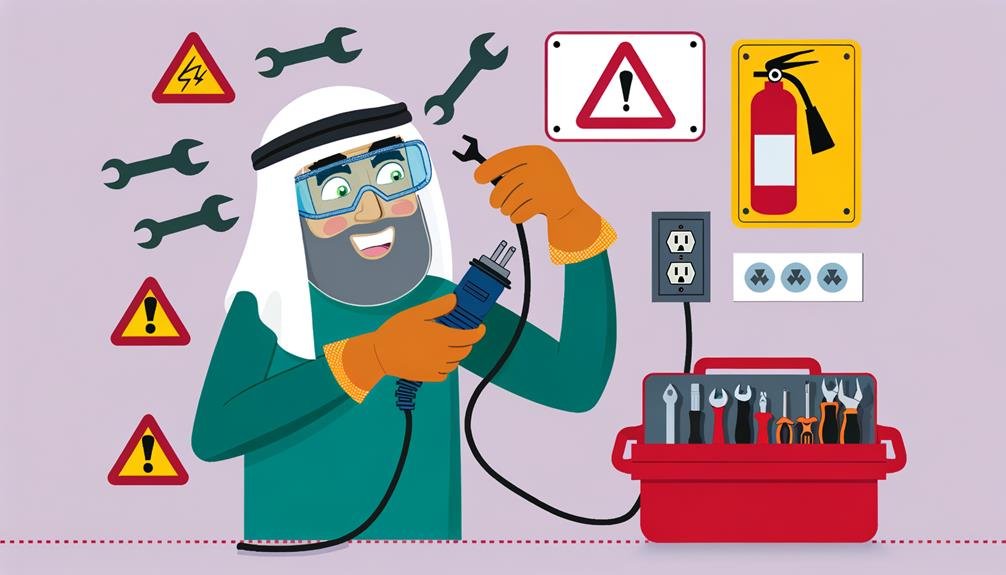
Exposed wires or components can pose a significant threat if touched while the charger is connected to power. We can't stress enough the importance of wearing protective gear, like gloves and safety goggles, when working on the charger. This isn't only for our own safety, but also for those around us.
If we're unsure about any step in the process, it's better to consult a professional electrician or technician for guidance. It's also vital to familiarize ourselves with basic first aid procedures in the unlikely event of an accident.
Step-by-Step Repair Guide
Let's dive into the in-depth, step-by-step guide on how to repair an electric bike charger. Firstly, inspect the charger for signs of damage or overheating. This initial examination can often reveal the problem.
Next, let's start the circuit analysis:
- Breakdown of the circuit using the IC datasheet for reference
- Identify the main checkpoints of the circuit
- Test these points for voltage and frequency discrepancies
This process will help pinpoint where the issue lies. Following this, we'll focus on the Mosfet and gate drive resistor:
- Test the Mosfet and gate drive resistor
- Check for resistance issues
- Conduct diode readings
Ensure you're well-equipped to handle the task by understanding the charger's specifications and troubleshooting needs. We'll cover repair techniques, circuit analysis, and voltage testing.
Maintenance Tips for Longevity

Let's shift our focus now to the 'Maintenance Tips for Longevity' of your electric bike charger.
We'll be discussing proactive care measures and troubleshooting common issues that might arise.
It's important to remember that proper maintenance can extend the life of your charger, prevent costly repairs, and ensure optimal performance.
Preventive Care Measures
To ensure the longevity and optimal performance of your electric bike charger, it's essential to adopt preventive care measures. Regular inspections should be conducted to check for signs of overheating or burning. Additionally, it's important to ensure that all components are in good condition.
Maintenance is also a key part of keeping your charger functioning efficiently. Cleaning the charger regularly is necessary to prevent dust and dirt buildup. Periodically tightening any loose connections is also recommended.
Here's a basic routine to follow:
- Regular Inspection:
- Check for overheating or burning signs
- Ensure all components are in good condition
- Maintenance:
- Clean the charger regularly to prevent dust and dirt buildup
- Periodically tighten any loose connections
Troubleshooting Common Issues
In maintaining the longevity of your electric bike charger, it's crucial to troubleshoot common issues by first checking for signs of burning or overheating during the initial inspection, a step that helps identify any physical damage to the components. Overheating prevention strategies are essential not only for safety but also for charging time optimization.
Next, analyze the circuit using the IC datasheet. This helps understand the charger's operation and components, alleviating battery compatibility issues. Then, test the main checkpoints of the circuit, including voltage on the main DC capacitor and the IC's startup process.
Lastly, inspect the Mosfet and gate drive resistor for appropriate resistance readings and diode functionality. If readings are off, replace the components. This methodical approach ensures the charger's optimal performance and longevity.
Frequently Asked Questions
Why Did My E-Bike Charger Stop Working?
"We're unsure why your e-bike charger stopped working. It could be its lifespan has ended, or it needs troubleshooting. Sometimes, charger replacements are the best solution. We're here to help you figure this out."
How Can I Charge My Electric Bike Without a Charger?
We're explorers forging new paths. We can harness alternative power sources, use DIY charging methods, or tap into the sun's power for solar charging. There's always a way to power our e-bikes, charger or not.
Why Is My Bike Battery Not Charging?
We're investigating why your bike battery isn't charging. Faulty connections, nearing end of battery lifespan, or temperature effects could be causing the issue. We'll dive into each possibility to find a solution together.
How Do I Test My Electric Bike Charger?
We're checking our e-bike charger's functionality using testing equipment. We'll monitor indicator lights for any irregularities. If they don't light up as expected, we've likely found a fault needing further investigation.
Conclusion
In conclusion, we've dived into the labyrinth of e-bike charger repairs and emerged victorious. With a little determination, the right tools, and our step-by-step guide, we've turned daunting technical tasks into child's play.
And remember, regular maintenance is the secret sauce to your charger's everlasting life. So, don't fear those circuit configurations or resistors – embrace them!
They're the lifeblood of your electric bike charger, the unsung heroes propelling you towards your next adventure.

Charles Miller is a veteran bike enthusiast with over 12 years of experience dealing with bikes as a mechanic. Despite immense love and expertise for his Tacoma, he rides his Trek Ebike more. Anytime you meet him, you’ll either hear him talking about Bikes, or writing about all things bikes and cars on this blog.
More Posts


