
Charles Miller
Founder at - FlybyWheelCharles Miller is a veteran bike enthusiast with over 12 years of experience dealing with bikes as a mechanic. Despite immense love and expertise for...
Who needs a pricey e-bike when we could just duct tape a drill to an old two-wheeler in the garage, right?
Today, we're going to explore an unconventional DIY project: making an electric bike with a drill.
While we're not promising a Tour de France winner, we can assure you that you'll end up with a unique piece of transportation, which will serve as a great conversation starter at the very least.
But let's hold our horses – or rather, our drills – and start at the very beginning.
What will you need and how do you go about turning a simple drill into an engine for an electric bike?
Stick around, we're just getting started.
Key Takeaways
- The drill should be securely attached to the bicycle frame and positioned properly for optimal power transfer.
- The throttle system should be set up correctly, with the hand brake and throttle cable attached to the drill's trigger, allowing for safe and efficient usage.
- It is important to conduct thorough testing, including checking the functionality of the throttle system and assessing the performance and speed of the electric bike.
- All components should be securely attached and strong to ensure a safe riding experience, with regular checks for any loose zipties or components.
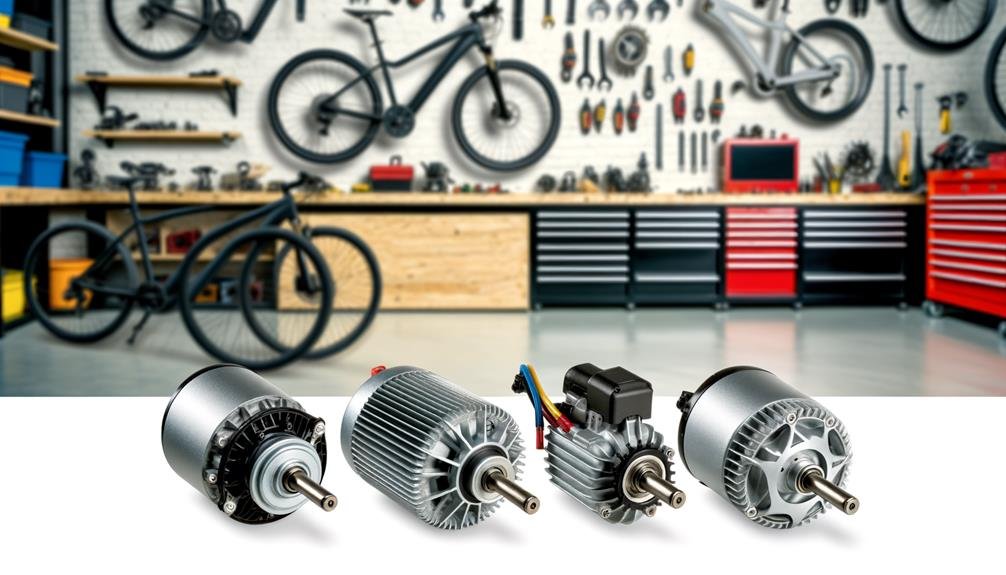
Gathering Your Materials
Before we dive into the build process, it's crucial to gather all the necessary materials for making an electric bike with a drill. These materials include:
- A bicycle
- A cordless drill
- Zipties
- A small piece of wood
- A bicycle hand brake
- A bicycle cable
It's essential to have everything ready and at hand before starting, to ensure a smooth and efficient process.
Making an electric bike with a drill is relatively simple. However, the detailed nature of this project requires a certain level of precision and technical skill. It's important to note that while this electric bike won't have the ability to coast, it provides a speed that's comparable to a drained Barbie jeep. This makes it a perfect project for beginner enthusiasts looking to dip their toes into the world of DIY electric transportation.
Now, we're not only creating an electric bike, we're building a community of DIYers. We encourage you to share your experiences, challenges, and triumphs along the way. This project is more than just about creating an electric bike; it's about belonging to a group of innovators and forward-thinkers.
Drill Installation
Having gathered all the necessary materials, we can now proceed to the crucial step of installing the drill on the bicycle frame. We'll need to securely attach the cordless drill to the frame, positioning the drill chuck on the side of the tire. This positioning will ensure the drill's power is efficiently transferred to the tire, affecting the gear ratio and, thus, the bike's speed.
Next, we'll use zip ties to snugly and securely fasten the drill to the side of the tire. A secure drill attachment is paramount for improved grip and performance. We're creating a setup where every component contributes to a unified, efficient whole.
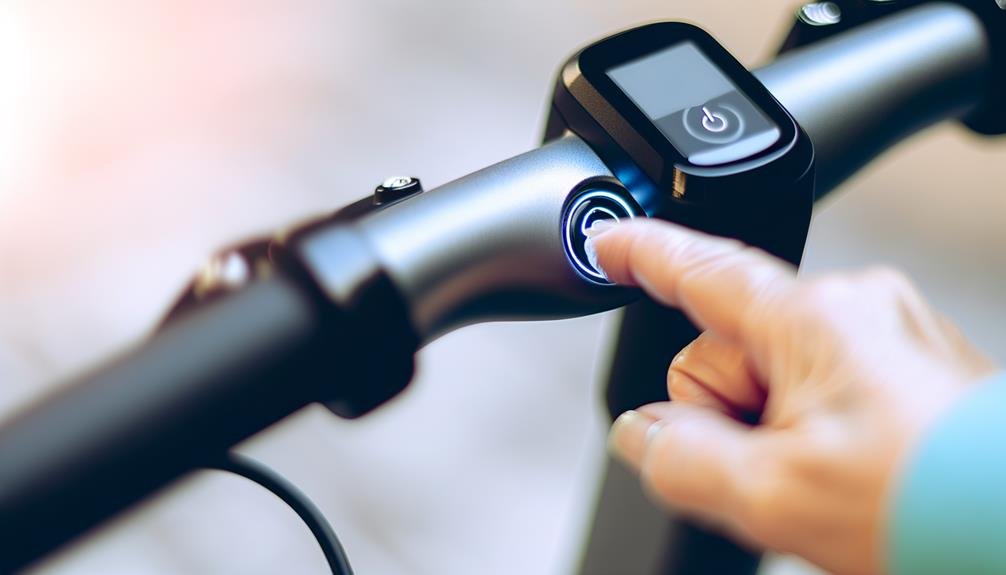
The throttle system is our next focus. By combining the hand brake and cable, we'll create a throttle system. We'll ensure it's securely tightened on the handlebars, providing control and easy access.
The most challenging part comes next – attaching the throttle cable to the side of the drill and wrapping it around the trigger. It may require some dexterity, but with patience, we'll get it done.
Lastly, we'll experiment with different drills and bike setups, fine-tuning until we find the most suitable gear ratio for our electric bike.
Securing the Drill

Ensuring the drill's secure attachment to the bike frame is crucial. We position the drill chuck on the side of the tire and align it properly before tightly fastening it with zipties. Incorrect positioning can lead to inefficient power transfer and may even damage the drill or the bike. The number of zipties required can vary depending on the bike and the drill. This is a step we can't afford to overlook, as it directly impacts the performance and safety of our DIY electric bike.
Next, we focus on increasing the friction between the drill and the tire. We snugly attach it to the side to optimize power transfer, especially when dealing with a smaller wheel. It's important to note here that the size and voltage of the drill don't significantly impact the project, as long as it's securely tightened and aligned with the tire.
Throttle System Set-Up
Moving onto the throttle system set-up, we first mount the hand brake securely to the handlebars, a crucial step for the proper functioning of the throttle system. This forms the base of our control system, enabling us to manage the speed of our electric bike with ease.
Next, we need to make sure that the throttle cable is correctly attached. Be mindful while carrying out this step, as it directly impacts the usability of the bike. We've broken down the process into three simple steps:
- Attach the throttle cable to the side of the drill.
- Wrap the metal part of the throttle cable around the drill's trigger. This configuration allows the brake handle to control the drill trigger.
- Adjust the throttle cable so it only pulls the drill trigger when the brake handle is engaged.
Properly setting up the throttle system is essential not only for the efficient operation of the electric bike but also for ensuring safe usage. So, make sure to follow these steps closely.
A well-configured throttle system will enhance your electric bike experience, providing you with smooth, controlled rides.
Final Touches and Testing

With the throttle system properly set up, we now turn our attention to the final touches and testing phase of our electric bike project. First, we ensure the drill is securely attached and precisely aligned with the tire. This is critical for optimal grip and performance, allowing the bike to be able to go smoothly.
Next, we test the throttle system for proper functionality, ensuring we've full control over the bike's speed. Any inconsistencies or glitches here could lead to uncontrolled acceleration or deceleration, which are safety hazards.
It's then time for a trial run on a flat surface. This allows us to assess the performance, speed, and overall feel of the bike. We're looking for a smooth, effortless ride that gives us the thrill of an electric bike without any unexpected surprises.
After the test run, we check for any loose zipties or components. These could cause instability or even damage to the bike. Making sure everything is secure and strong gives us peace of mind when we're on the road.
Frequently Asked Questions
How Do You Make an Electric Scooter With a Drill?
We're turning a regular scooter into an electric one using 'Drill Motorization'. We'll attach the drill to the scooter, secure it with zipties, and create a throttle system using a hand brake and cable.
Can You Make Your Own Electric Bike?
Yes, we can certainly make our own electric bike. It presents exciting DIY challenges, requiring technical skills and creativity. The process fosters a sense of belonging as we work together to conquer the hurdles.
How to Make Manual Bike Electric?
We're addressing the conversion challenges of making a manual bike electric. It's a complex task, requiring technical skills and specific components, but we're in this together, turning traditional cycling into a powered experience.
How to Make a Mini Electric Bike at Home?
We're crafting a mini electric bike at home using DIY components. It's a fun project that involves zipties, a cordless drill, and some wood. The process is simple and the result is a functional e-bike.
Conclusion
We've successfully created an electric bike using a drill. Although our speed may only match a drained Barbie jeep, it's an impressive feat considering we've repurposed everyday items.
Interestingly, 80% of e-bikes sold globally are in China, yet we've managed to create a DIY version right here. It's a testament to ingenuity and a great starting point for further innovation.
Remember, always prioritize safety when riding and continue refining this pioneering concept.
Charles Miller is a veteran bike enthusiast with over 12 years of experience dealing with bikes as a mechanic. Despite immense love and expertise for his Tacoma, he rides his Trek Ebike more. Anytime you meet him, you’ll either hear him talking about Bikes, or writing about all things bikes and cars on this blog.
More PostsRelated Posts