Charles Miller is a veteran bike enthusiast with over 12 years of experience dealing with bikes as a mechanic. Despite immense love and expertise for...
Just like assembling a complex puzzle, installing an electric bike motor can be a challenging yet rewarding process. We're here to guide you through each step, ensuring you're equipped to transform your traditional bike into an efficient, eco-friendly machine.
From choosing the right motor and preparing your bike, to wiring the battery and testing the installation, we'll cover it all.
But what if you encounter problems along the way? Don't worry, we've got that covered too.
So stick around, because you'll want to know what comes next.
- Key Takeaways
- Understanding Electric Bike Motors
- Tools and Materials Needed
- Preparing Your Bike
- Choosing the Right Motor
- Installing the Motor
- Connecting the Electrical Components
- Testing the Motor Installation
- Troubleshooting Common Issues
- Maintenance Tips for E-bike Motors
- Frequently Asked Questions
- Conclusion
Key Takeaways
- Understanding the different types of electric bike motors and their advantages will help in making an informed decision during installation.
- Proper preparation of the e-bike and bike frame, including securing the necessary tools and ensuring a secure connection for wiring, is crucial for a successful installation.
- Careful installation of the motor and connection of electrical components, including choosing the right motor and securely attaching it to the bike frame, is essential for proper functioning.
- Regular maintenance, including checking bolts and connections, keeping components clean, and monitoring battery health, is necessary to ensure the longevity and optimal performance of the e-bike motor.
Understanding Electric Bike Motors
When it comes to electric bike motors, it's crucial to understand the different types, such as hub motors or mid-drive motors, as each type has unique advantages and specific installation requirements.
Hub motors, typically installed in the bike's wheel, offer a direct drive system, while mid-drive motors, situated in the bike's center, provide better balance and efficiency.
We must also consider the motor's power rating and efficiency to match our desired riding experience and terrain. More powerful motors handle steep terrains and heavy loads better, but they might consume more battery.
Moreover, compatibility is key. We must ensure the electric bike motor fits the existing bike frame and components. This compatibility is crucial for a successful installation, which involves connecting the motor to the battery, controller, and other components. Proper wiring and secure attachment to the bike frame are essential to prevent any technical issues.
Tools and Materials Needed
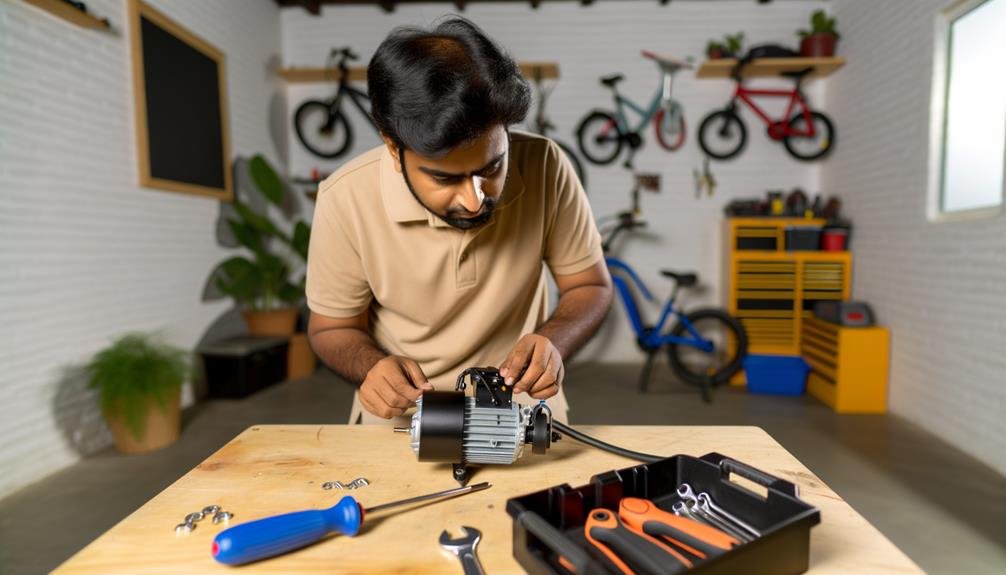
Before we get our hands dirty with the installation, we'll need to gather the correct tools and materials.
Essential items include:
- An electric bike motor kit
- Freewheel remover tool
- Torque arm
- Soldering iron along with solder
Additionally, don't forget to have the battery and a matching plug for your e-bike handy.
Necessary Tools for Installation
To install an electric bike motor, you'll need a few essential tools:
- An adjustable wrench: This tool is crucial for removing and installing nuts and bolts.
- A freewheel remover tool: Used for taking off the freewheel.
- A soldering iron with solder: This tool helps in connecting and securing wires.
- A screwdriver set: Essential for securing components, like the controller and LCD monitor. It should be in your toolbox or set of keys.
- Cable ties and wire connectors: Needed for organizing and securing the wiring.
All these tools are vital for a successful, safe, and easy installation process.
Essential Installation Materials
Armed with the necessary tools, we'll also need key materials like a socket wrench set, screwdrivers, and pliers for wheel removal and installation. These essential installation materials are critical in fitting the electric motor to your bike.
A freewheel remover tool is necessary for taking off the freewheel, and a torque arm is indispensable to transfer energy from the motor. A soldering iron and wire cutters are invaluable for making and securing electrical connections.
Lastly, you'll need a battery lock and a suitable space on your bike to secure the battery in place. These materials not only ensure a successful installation but also help maintain the integrity and performance of your electric bike.
Preparing Your E-Bike
Having gathered all the essential installation materials, let's now prepare our bike for the motor installation by first securing the necessary tools such as a freewheel remover, torque arm, and soldering equipment.
- We'll need a matching plug for our battery wiring. This ensures a secure connection to the electric bike motor.
- Make sure you take into account a secure way to lock the battery in place on the bike frame. This is of utmost importance for safety reasons.
- Consider the placement of the battery and controller for ease of access and functionality. This will ensure a smooth ride.
- Lastly, in the United States or anywhere else, have tools like a wrench and super glue ready for any additional component installation.
Preparing Your Bike
Before installing the electric bike motor, we'll need to properly prepare the bike, starting with the removal of the wheel and freewheel to create ample space. This fundamental step in preparing your bike is integral to the process, and we'll guide you through it.
Begin by loosening the brake cable. This action is crucial as it facilitates the wheel removal process without causing any damage. Once done, go ahead and flip the bike over. This position allows easy access to the wheel, enabling its swift and hassle-free removal.
Next, it's time to bring out the Freewheel removal tool. Use it to carefully take off the freewheel, ensuring that no damage is done to the hub or spokes in the process. Now, our main task in preparing your bike is to ready the frame for motor installation.
Make sure it's clean and free of any obstacles. Remove any dirt or debris as they can hinder the motor fitting process. With the frame spotless and clear, we're now ready to move on to the installation of the electric bike motor.
Choosing the Right Motor
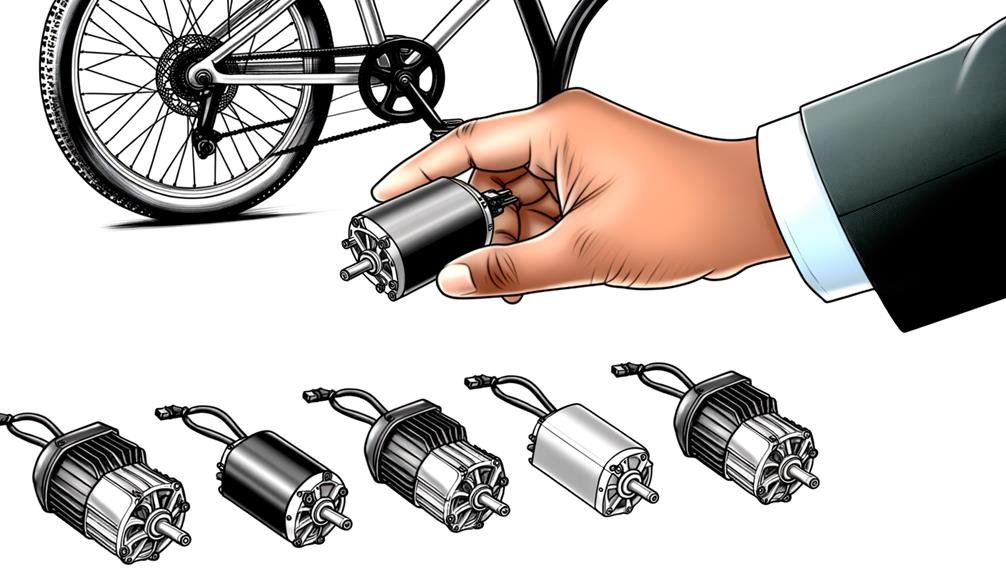
With our bike now adequately prepared, let's shift our attention to an equally crucial aspect – selecting the appropriate motor for your electric bike. As we mentioned earlier, your choice of motor can significantly impact your e-bike's performance and efficiency.
Keep these four points in mind:
- Power Output and Torque: Consider your riding needs. If you're an urban commuter, a motor with moderate power and torque might suffice. However, for off-road and hilly terrains, you'll need a motor with high torque.
- Type of Motor: Your choice between a hub motor and a mid-drive motor should depend on your riding terrain and preference. Hub motors are suitable for flat terrains, while mid-drive motors offer better performance on hilly terrains.
- Compatibility: Ensure that the motor fits well with your bike frame, wheel size, and axle specifications. Compatibility ensures optimal performance and prevents potential damage.
- Efficiency and Battery Consumption: A motor's efficiency directly impacts the range of your e-bike. Choose a motor that doesn't consume too much power yet delivers excellent performance.
Installing the Motor
Now that we've chosen the right motor, it's time to get our hands dirty and start installing it.
We'll begin by preparing the bike, removing the necessary components and making room for the motor.
Then, we'll walk you through the motor installation process, step by step, ensuring each component is installed correctly and securely.
Preparing the Bike
Kicking off the process of preparing your bike for the motor installation, you'll need to first remove the wheel and freewheel to access the hub. This gives us the perfect starting point for the transformation.
Now, let's dive into the steps of preparing the bike:
- Install the torque arm. This component is critical as it transfers energy from the motor, so make sure it's secured tightly.
- Wire the battery connection securely. This guarantees a continuous power supply to the motor.
- Determine the best placement for the battery. Once you've decided, lock it in place securely.
- Choose the optimal controller placement and install it securely. This prevents any interference while riding.
Motor Installation Process
Moving on to the heart of the project, we'll now install the electric motor onto the bike. This motor installation process is the key to transforming your regular bike into an electric powerhouse.
First, we'll attach the motor to the bike frame, ensuring it's secure and stable. It's essential to line up the mounting holes accurately.
Then, we'll connect the motor to the controller, using the provided wiring harness. Each wire is color-coded, so matching them up is straightforward.
Next, we'll connect the throttle to the controller. Make sure to double-check these connections, any mistake could lead to performance issues or safety hazards.
Lastly, we'll connect the pedal assist sensor. This ingenious device enables the motor to assist when you're pedaling. Now, isn't that a breeze?
Connecting the Electrical Components
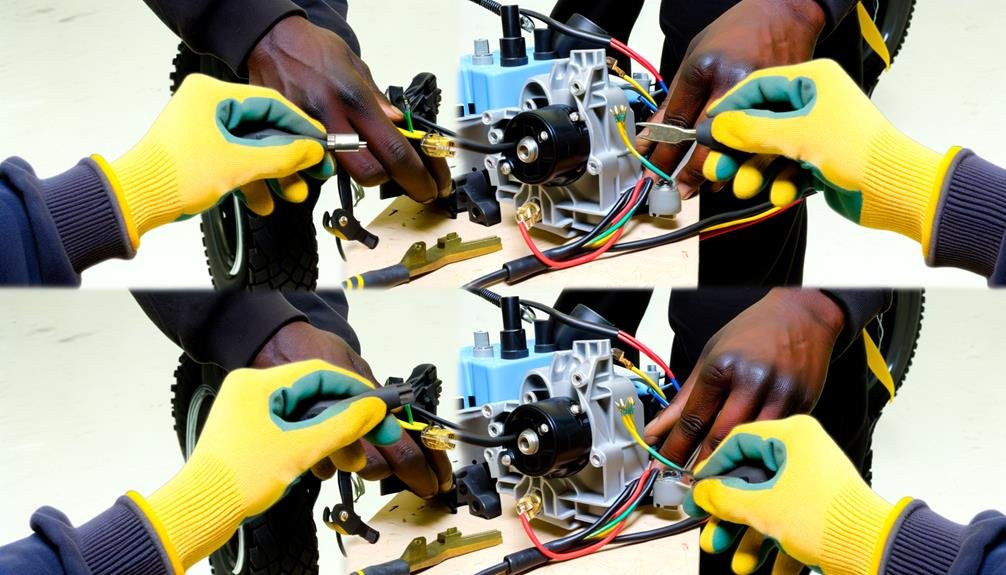
To ensure a successful installation, let's start by connecting the wires from the motor to the controller, taking care to maintain the correct polarity and secure connections. This is the first crucial step in connecting the electrical components.
- Motor to Controller Wires: Match the color-coded wires from the motor to those on the controller. These need to be tightly connected to ensure the efficient transfer of power.
- Battery Wires: Next, we'll attach the battery wires to the controller. Make certain that the positive and negative terminals match, and the connection is secure.
- Throttle and Brake Sensor Wires: Now, connect the throttle and brake sensor wires to the controller. Align the plugs properly and ensure snug connections.
- Securing Wiring: Lastly, fasten all wiring using zip ties or similar fasteners. This helps prevent interference or accidental disconnection.
Before moving on, it's critical to double-check all connections. Ensure all wires are securely fastened, and the polarity is correct. If everything checks out, you're ready to move on to the next steps of your electric bike motor installation.
Testing the Motor Installation
Once we've ensured all wired connections are secure, it's time to test the functionality of our installed components, including the throttle and pedal assist modes. This crucial step, known as testing the motor installation, ensures that our e-bike operates smoothly and provides the expected power assistance.
During the test, let's pay close attention to any unusual sounds or vibrations. These could indicate a problem that needs addressing. Moreover, we need to ensure we're adhering to speed limits and exercising caution while testing on the road. Let's remember, safety is paramount.
To help us all understand the process better, here's a detailed table. This will guide us through each stage of the testing process, step by step.
| Procedure | Expected Outcome |
|---|---|
| Check wired connections | Secure and functioning |
| Test throttle and pedal assist | Responsive and smooth |
| Observe during a road test | No unusual sounds or vibrations |
| Check speed limits adherence | Safe road testing |
| Verify motor's power assistance | Smooth operation with expected assistance |
In essence, we are building a community here. We are learning together and supporting each other. Together, we'll make our e-bike journeys both enjoyable and safe.
Troubleshooting Common Issues
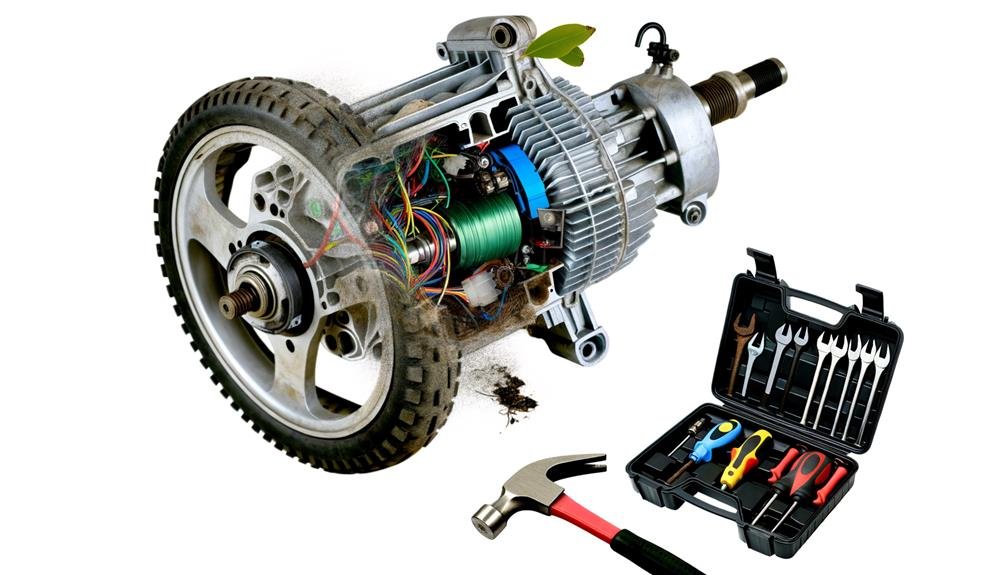
What happens if, despite our careful installation and testing, our e-bike motor starts showing signs of trouble? We don't panic. Instead, we roll up our sleeves and get down to troubleshooting common issues. We're in this together and we'll get through it.
- Check the Battery Connections: We first make sure they're secure and properly plugged in. A loose connection can cause inconsistent power or even no power at all.
- Inspect the Wiring: We look for signs of wear, damage, or loose connections. If we can't lock a connection, it may need replacement.
- Test the Throttle and Pedal Assist: These should be functioning correctly, providing the right amount of power when we need it.
- Verify the Brake Sensor: It should be stopping the motor as intended when engaged. If not, we could be facing a safety issue.
Maintenance Tips for E-bike Motors
Let's dive into some practical maintenance tips for e-bike motors, designed to keep our two-wheeled companions running smoothly and efficiently.
It's important to regularly check and tighten all bolts and connections. This helps to ensure that everything is secure and eliminates any potential for loose components that could cause damage or inefficiency.
Keeping the motor and components clean is another key aspect of e-bike motor maintenance. Dirt, debris, and moisture can all hinder performance, so it's crucial to keep the motor free from these elements. Implement a cleaning routine to maintain optimal performance.
Inspecting the wiring and cables for signs of wear, fraying, or damage should be done regularly. If we notice any of these signs, it's best to repair or replace the affected parts as soon as possible.
Monitoring the battery health is also vital. Proper charging habits can significantly prolong the lifespan of the battery and maintain consistent power delivery.
Lastly, don't forget to schedule periodic professional inspections and tune-ups. These can address potential issues before they become significant problems, ensuring our e-bikes continue to operate smoothly.
Frequently Asked Questions
Can You Put an Electric Motor on Any Bike?
Yes, we can attach an electric motor to any bike. It's all about motor compatibility. We just need to ensure we've chosen the right motor and follow the installation process carefully.
How Fast Can a 1000w Electric Bike Go?
We've researched the speed limitations of a 1000w electric bike. They can reach up to 28-30 mph, but it'll vary based on rider weight, terrain, pedal assistance, and adherence to local speed regulations.
How Fast Is 1000w 48v in Mph?
We've found that a 1000W 48V electric bike motor can hit speeds up to 30 mph. However, remember speed limitations can vary based on rider weight, terrain, and wind resistance, among other factors.
Can I Swap My Ebike Motor?
Can't we just swap our ebike motor? Absolutely, but we'll need to ensure motor compatibility. We're essentially upgrading for better performance, so let's make sure we do it right.
Conclusion
We've successfully walked you through the process of installing an electric bike motor.
It's interesting to note that e-bikes can improve cardiovascular fitness by 20.8% in just four weeks, according to a study by Colorado University. This goes to show that not only does an e-bike motor make cycling easier, but it also boosts health significantly.
Remember, regular maintenance is key to keeping your motor running smoothly.
Happy e-biking!

Charles Miller is a veteran bike enthusiast with over 12 years of experience dealing with bikes as a mechanic. Despite immense love and expertise for his Tacoma, he rides his Trek Ebike more. Anytime you meet him, you’ll either hear him talking about Bikes, or writing about all things bikes and cars on this blog.
More Posts