Charles Miller is a veteran bike enthusiast with over 12 years of experience dealing with bikes as a mechanic. Despite immense love and expertise for...
Just like assembling a jigsaw puzzle, installing an electric bike conversion kit can be a rewarding challenge. You've made the decision to convert your traditional bicycle into an electric one, and now you're faced with the task of putting it all together. Don't stress, it's not as complicated as it might seem.
By the end of this guide, you'll have a good understanding of the steps involved and the confidence to tackle it yourself.
But before we dive into the nuts and bolts, let's explore why this conversion could significantly alter your cycling experience.
Key Takeaways
- Select the right conversion kit based on motor power and voltage compatibility with the bike, as well as compatibility of the battery pack with motor and controller specifications.
- Choose a kit suitable for the bike's wheel size and brake type, and consider the quality and durability of components in the kit.
- Take pre-installation safety measures by turning off the bike and disconnecting the battery, wearing protective gear, and ensuring compatibility of conversion kit components with the bike frame.
- Follow the step-by-step installation process, including installing the freewheel, connecting the battery pack securely, and placing the controller, throttle, LCD monitor, brake sensor, and pedal assist sensor in their respective positions.
Understanding Electric Bike Conversion Kits
Before you dive into installing your electric bike conversion kit, it's crucial to understand what these kits typically include:
- A motor hub
- Controller
- Pedal assist monitor
- Throttle
- Brake sensor
- Wire harness
- Zip ties
- 48-volt, 1000-Watt battery pack that comes with a charger and keys.
Each component plays a vital role in transforming your regular bike into an e-bike. The motor hub is the heart of your conversion, providing the power to propel you forward. The controller governs the motor, while the pedal assist monitor and throttle give you control over the power delivery. The brake sensor ensures safety by cutting power when you brake.
Installing an electric bike conversion kit isn't as daunting as it may seem. As long as you follow the instructions carefully, you'll find it manageable, even as a beginner. You'll need to:
- Remove your wheel
- Install the freewheel
- Connect the battery pack
- Fit the other components.
Finally, remember to test your newly converted electric bike for functionality. Check the secure fit of all parts, proper connections, and working modes to ensure a safe and enjoyable ride.
Understanding electric bike conversion kits is the first step towards joining the e-bike community. Welcome aboard!
Selecting the Right Conversion Kit
Diving into the selection process, it's crucial to pick the right electric bike conversion kit that matches your bike's specifications and your riding needs. You want to feel comfortable and confident on your newly upgraded bike, and the right kit can make all the difference.
Firstly, consider the motor power and voltage compatibility with your bike. Not all kits are built the same, so it's important to find one that can seamlessly integrate with your bike's existing setup. The kit should include necessary components like a controller, pedal assist monitor, throttle, and brake sensor.
Next, think about the battery pack. It should be compatible with the motor and controller specifications. You don't want to end up with a mismatch that could potentially damage your bike or, worse, lead to an accident.
Lastly, look for a conversion kit suitable for your bike's wheel size and brake type. Additionally, consider the quality and durability of the components included in the kit. You're investing in your bike's future, so it's worth spending a little extra for a kit that'll last.
Selecting the right conversion kit can seem daunting, but with careful consideration, you'll find the perfect fit.
Pre-Installation Safety Measures

Once you've chosen the right conversion kit, it's crucial to take some safety measures to ensure a successful and risk-free installation process. Before you start, make sure your electric bike is turned off and the battery is disconnected. This step is vital to avoid any electrical shocks during the installation.
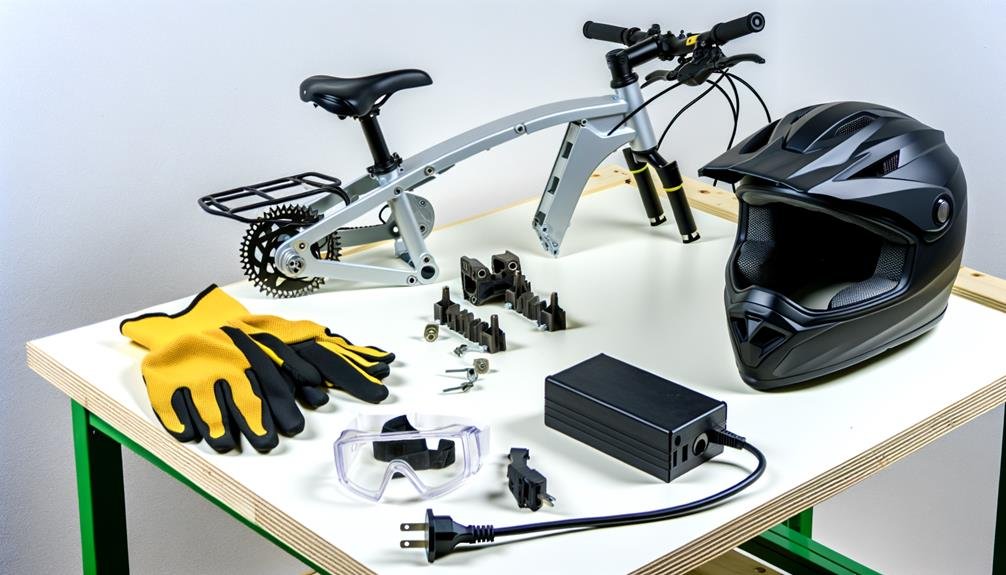
Wearing protective gear is also important. Don a pair of gloves and safety glasses to protect yourself from any mishaps that might happen while working on your bike frame. You don't want to suffer any injuries during this process.
Double-check the compatibility of your conversion kit components with your bike. This step ensures a smooth installation process and prevents any issues during operation.
Here's a quick table summarizing the safety measures:
| Safety Measure | Why it's Important | What to Do |
|---|---|---|
| Turn off bike and disconnect battery | Prevents electrical shocks | Make sure bike is off and battery is disconnected |
| Wear protective gear | Prevents injuries | Wear gloves and safety glasses |
| Check component compatibility | Ensures smooth installation and operation | Double-check compatibility with bike frame |
Follow these precautions, and you'll set yourself up for a successful conversion of your standard bike into an electric bike.
Step-by-Step Installation Process
Now, let's delve into the actual installation process of your electric bike conversion kit, starting with the removal of the wheel and the installation of the freewheel onto the motor hub. This step is critical as the electric motor provides the drive force to your bike through this freewheel.
Next, connect the battery pack to the controller. Make sure it's securely installed on your bike to ensure stability while riding. It's the heart of your electric bike conversion kit, controlling and delivering power to the motor.
Your next step involves placing the controller, thumb throttle, LCD monitor, brake sensor, and pedal assist sensor in their respective positions. Each component has its own role in the step-by-step installation process. The controller regulates power, the throttle controls speed, the monitor displays key info, the brake sensor ensures safety, and the pedal assist sensor adds comfort to your ride.
Post-Installation Checks and Tips

After successfully installing your electric bike conversion kit, it's essential to perform some critical post-installation checks and follow specific tips to ensure optimal functionality and safety.
To kick things off, double-check all the connections. They should be secure and properly insulated to prevent any electrical mishaps. You're part of the electric bike community now; safety should be your top priority.
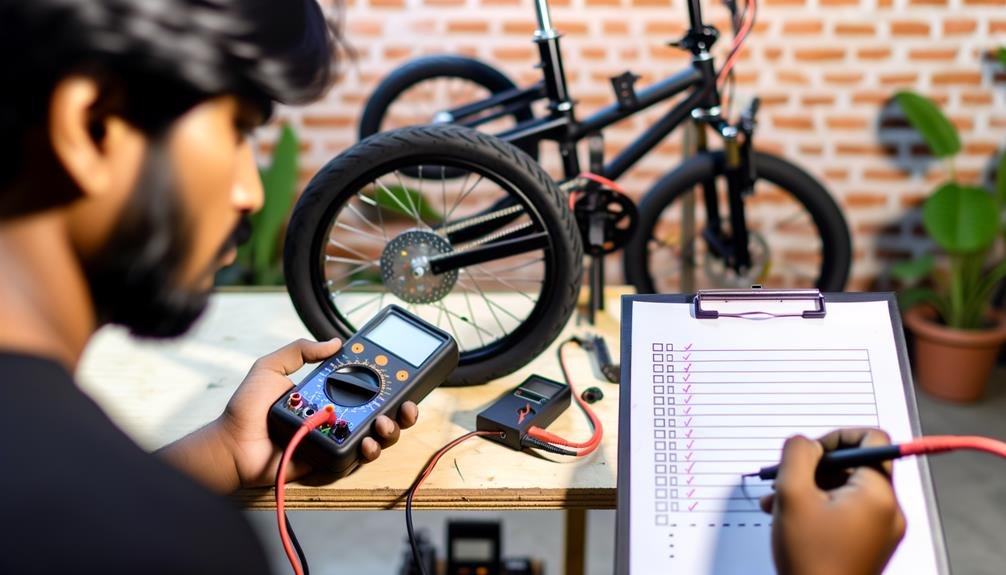
Next, test the thumb throttle, brake sensor, and pedal assist monitor. Make sure they're responding correctly. You wouldn't want any surprises while you're out there, enjoying the wind in your hair.
Now, focus on the battery pack. It should be firmly secured in place with screws and well-protected from potential damage. A loose battery pack can cause unnecessary problems during your ride.
Don't forget the LCD monitor. Adjust its positioning for optimal visibility and test its performance. An accurate monitoring of the bike's system is crucial for efficient riding.
Frequently Asked Questions
Are EBike Conversion Kits Easy to Install?
Yes, you'll find eBike conversion kits fairly easy to install. However, factors like kit compatibility, installation time, and potential DIY challenges can influence the ease. You're part of the eBike community now!
How Do You Install a Front Wheel EBike Conversion Kit?
You'll first address wheel alignment for a smooth ride. Next, use a torque arm for secure mounting. Finally, be mindful of motor connectivity, ensuring it's functioning properly. These steps ensure your ebike kit installs flawlessly.
What Do You Need for an EBike Conversion Kit?
You'll need kit components like a motor hub and controller, required tools like a freewheel remover, and patience for the installation time. Don't forget the battery pack and soldering equipment for secure attachment.
Are Electric Bike Conversion Kits Worth It?
Yes, electric bike conversion kits are worth it. They're cost-efficient, improve performance, and offer great kit longevity. You'll enjoy a smoother, more powerful ride while feeling part of the e-biking community.
Conclusion
So, you've now successfully transformed your trusty steed into a high-tech e-bike.
Just remember, even with this newfound power, it's not a time machine! Always ensure everything is securely fastened and functioning correctly before hitting the road.
This kit isn't just about speed, it's about enhancing your overall biking experience.
Enjoy the ride, but always prioritize safety.

Charles Miller is a veteran bike enthusiast with over 12 years of experience dealing with bikes as a mechanic. Despite immense love and expertise for his Tacoma, he rides his Trek Ebike more. Anytime you meet him, you’ll either hear him talking about Bikes, or writing about all things bikes and cars on this blog.
More Posts


