Charles Miller is a veteran bike enthusiast with over 12 years of experience dealing with bikes as a mechanic. Despite immense love and expertise for...
Just like a skilled surgeon replacing a patient's heart, we've found ourselves meticulously swapping out the rear wheel of an electric bike more times than we can count. That's not to say the task is as complex as a heart transplant, but there's a certain finesse required to get it just right.
From understanding the unique components of an e-bike to preparing your workspace and installing the new wheel, there's a lot we've learned along the way. So, why don't we share some of that knowledge? Trust us, by the end of our discussion, you'll be swapping out those rear wheels with the precision of a seasoned pro.
But first, let's talk about what makes an electric bike's rear wheel unique, shall we?
- Key Takeaways
- Understanding Electric Bike Components
- Tools Needed for Wheel Change
- Preparing Your Workspace
- Removing the Electric Bike's Wheel
- Inspecting the Wheel and Hub
- Preparing the Replacement Wheel
- Installing the New Rear Wheel
- Checking the Wheel Alignment
- Post Replacement Maintenance Tips
- Frequently Asked Questions
- Conclusion
Key Takeaways
- Electric bikes have specialized components including a hub motor, battery, and controller.
- Proper tool selection is crucial for efficiently changing the rear wheel on an electric bike.
- Workspace preparation, bike inspection, and wheel inspection are important steps before starting the wheel change process.
- Installing the new rear wheel requires attention to detail, including aligning the power cable, derailleur, and checking chain alignment and wheel alignment with the frame.
Understanding Electric Bike Components
Before we delve into the process of changing the rear wheel on an electric bike, it's crucial to grasp a clear understanding of the different components that make up these advanced bicycles. We're part of a community that values knowledge and skill, so let's dig in.
An electric bike, or e-bike, is a complex machine combining traditional bike components with an electric motor system. The rear wheel houses the hub motor which provides power, while the battery, often located in the frame, supplies the energy. The controller, usually on the handlebar, dictates the power level.
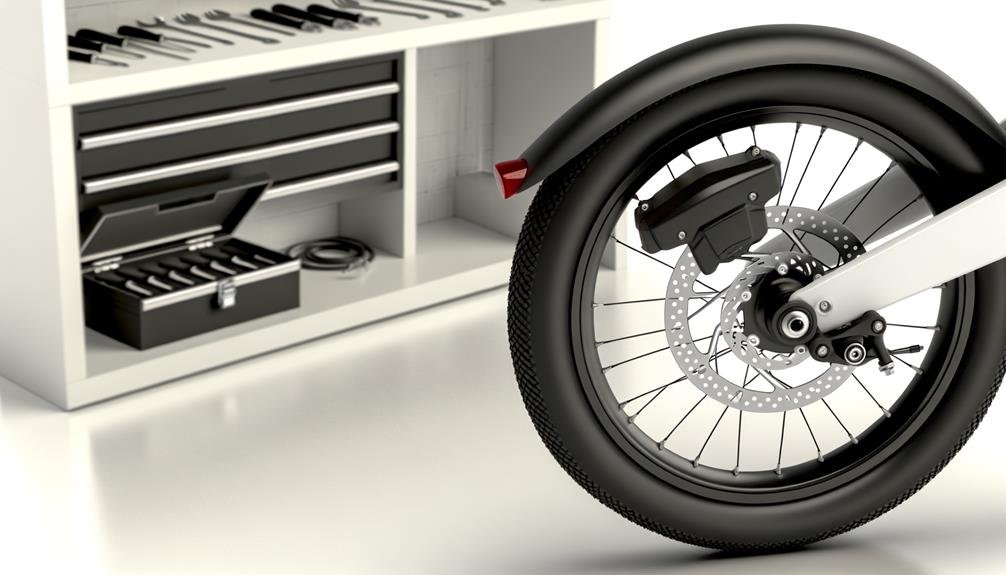
The rear wheel is one of the most critical parts of an e-bike. It's more than a simple tire. It's an integrated system accommodating the motor, disc brake, and often the gear derailleur. Then, there's the motor cable, a vital link between the motor and controller, which must be handled cautiously.
Properly preparing your e-bike for maintenance involves the use of appropriate tools and techniques. The right tools, like an 18mm wrench and 4mm and 5mm allen keys, make the process smoother. Remember, understanding electric bike components is the first crucial step before you attempt to change the rear wheel.
Tools Needed for Wheel Change
Before we proceed with the wheel change, let's go over the tools we'll need.
An 18 millimeter wrench and both 4 and 5 millimeter allen keys are essential, with a pair of snips on hand to cut the zap strap.
For any parts proving difficult to remove, a rubber mallet can be a useful optional addition to your toolkit.
Essential Wheel Changing Tools
To effectively change the rear wheel on an electric bike, we'll need a few essential tools:
- An 18 millimeter wrench: This will help us remove the nut on the rear wheel axle. Make sure to put them back in the same order you removed them.
- A 4 and potentially 5 millimeter allen key: These are perfect for removing the cap at the end of the bike and other components.
- A pair of snips and optional rubber mallet: The snips cut zap straps holding parts in place, and the mallet deals with stubborn parts. The plain cloth keeps track of bolts and washers, ensuring no loss.
Tool Selection Tips
Having gathered our necessary tools, let's focus on some key tips when selecting these tools for changing the rear wheel of your electric bike. Comparing traditional and electric bike wheel change tools, we find the latter requires specialized tools such as an 18mm wrench and 4mm and 5mm allen keys. These are must-haves for efficient rear wheel change, according to expert tips.
Common challenges during an electric bike wheel change often involve stubborn nuts and bolts. A rubber mallet can come in handy for these situations. Also, keep a pair of snips ready to cut any zap straps if needed.
Understanding the right tools to use and preparing them beforehand not only simplifies the process but also ensures you belong to the community of savvy electric bike owners.
Preparing Your Workspace

Before we begin the process of changing the rear wheel on our electric bike, let's get our workspace prepared properly.
We'll need to gather all our necessary tools, set up a safe and clear workspace, and carry out a preliminary inspection of the bike.
Gathering Necessary Tools
Firstly, we'll need to gather the right braces, ensuring our bike stays stable when flipped over. This is a crucial step for bike stabilization.
Next, we'll need to ensure there's enough workspace clearance. The last thing we want is knocking over a precious bouquet or a priceless artifact.
Here are the three key steps:
- Bike stabilization: We'll need to secure the bike with sturdy braces. This will keep it from moving and help us work efficiently.
- Workspace clearance: Ensure the workspace is clear and spacious. We don't want any accidents.
- Battery removal: Finally, we mustn't forget to remove the bike's battery. This is vital for safety and to prevent any potential damage.
Safe Workspace Setup
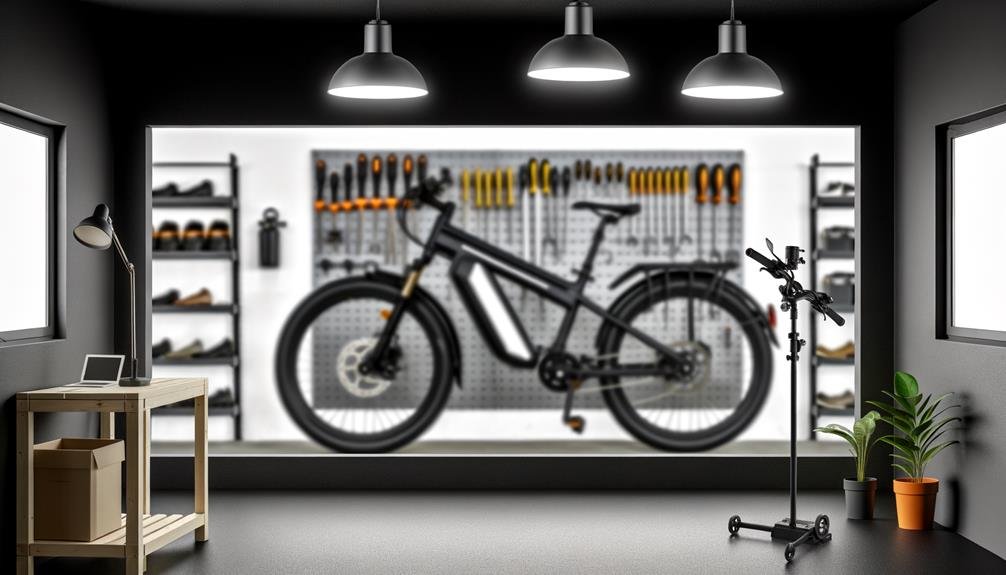
To set up a safe workspace, we'll start by clearing the area of any obstacles, ensuring we have ample space to maneuver around the bike. We'll then focus on workspace organization, which involves laying out tools within easy reach for a smoother workflow. We'll use a stable workbench or bike stand to secure the bike at a comfortable working height, ensuring an ergonomic setup. Good lighting and ventilation are essential safety precautions for better visibility and air circulation.
Here's a quick rundown of our workspace setup:
| Essential Task | Description |
|---|---|
| Clearing Space | Remove obstacles, provide ample maneuvering room |
| Organization | Lay out tools within easy reach |
| Ergonomic Setup | Use a stable workbench or bike stand |
| Safety Precautions | Good lighting and ventilation |
Pre-Work Bike Inspection
As we launch into the pre-work bike inspection, we'll start by acquiring proper braces to stabilize the bike when flipped, ensuring they're high enough to clear any handlebar items. This is a crucial step in our bike maintenance tips as it helps to prevent any potential damage to your equipment.
Next, let's focus on three main steps:
- Always call in a friend to assist in flipping the bike. This ensures safety and efficiency.
- Remember to remove the battery before flipping. This is key to avoid short-circuits or other electrical issues.
- Use a plain cloth to keep track of bolts and washers.
Removing the Electric Bike's Wheel

Before we dive into the wheel removal process, it's crucial to properly prepare our electric bike by ensuring it's stabilized with high-quality braces and the battery is safely removed. These are essential steps in the removing wheel precautions. We suggest securing the bike by flipping it over onto its handlebars and seat, but remember to protect any fragile components.
To make this process smooth, you might want to involve a professional assistant, especially if it's your first time. Having an experienced hand guiding you can avoid mishaps and ensure a safe wheel removal.
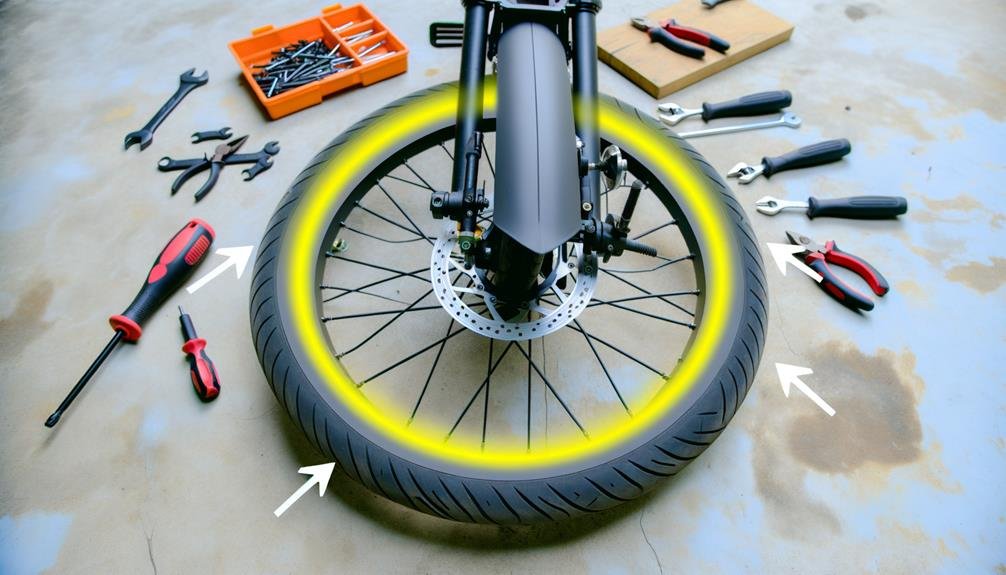
Next, you'll need an 18 millimeter wrench and a 4 millimeter allen key, possibly a 5 millimeter one as well. Using these tools, start by removing the cap at the end of the bike. The nut should be loosened using the lefty-loosey, righty-tighty method. Keep track of the washers as they come off; their order is important for reassembly.
Then, cut the zap strap holding the motor cable to the frame. If you face difficulties, consider removing the derailleur for easier access. After unplugging the motor cable, tilt and push the tire back to create space, then lift it out gently. Voila, you've successfully removed the rear wheel of your electric bike.
Inspecting the Wheel and Hub
With the rear wheel now successfully removed, we can turn our attention to inspecting the wheel and hub for any signs of damage or wear. This step is crucial for wheel maintenance and to prevent common wheel problems. It's our goal to ensure your e-bike is always in top-notch condition.
Let's delve into the inspection process:
- Check the Wheel Rim: Look for any visible damage or wear. A damaged rim can affect the bike's balance and overall performance.
- Inspect the Hub: Look for signs of cracks, dents, or loose parts. The hub is the heart of your wheel, so it's essential it's in good shape.
- Bearings and Spokes: Ensure the bearings rotate smoothly without grinding. Check for any loose or damaged spokes that might need replacement.
In our experience, these are the areas that are most prone to wear and tear. Regular inspections will help you identify potential issues early, making troubleshooting easier. Remember, wheel maintenance isn't just about replacing parts – it's also about spotting problems before they worsen. By doing so, we can all enjoy safer, more efficient rides.
Preparing the Replacement Wheel

Let's start preparing the replacement wheel. First, secure the right braces to stabilize the bike when it's flipped over. These braces should be high enough to clear any handlebar items. It's a common wheel installation mistake to rush this step, but we're ensuring your safety and the care of your bike.
Before flipping the bike, make sure to remove the battery. This is a crucial step, often overlooked, which can lead to troubleshooting wheel installation issues down the line.
Now, grab a plain cloth to keep track of bolts and washers. This simple trick will save you time when reinstalling the wheel. It's all about the details, folks!
We recommend having someone assist you in flipping the bike. This not only makes it easier, but also ensures the bike won't fall causing potential damage. You're part of our biking community now, and we look out for each other.
As you prepare your replacement wheel, keep in mind our wheel alignment tips. Proper alignment will help prevent any future issues. Remember, we're here to guide you, and together, we'll get your bike back on track.
Installing the New Rear Wheel
Having prepped your replacement wheel thoroughly, it's time we move on to the crucial step of installing the new rear wheel on your electric bike. This step requires precision and care, but with our guidance, you'll feel like part of our bike maintenance community in no time.
Firstly, we must ensure the correct positioning of washers and nuts as they come off the old wheel. This is important to maintain the stability and performance of your bike.
Next, aligning the power cable is a key step. Carefully guide the power cable and align the special washer with a tooth. This ensures a secure and efficient power transfer to your wheel.
Thirdly, let's look at securing the derailleur. We must securely push back the derailleur to insert the axle. This can be a bit tricky, but perseverance will pay off.
Checking the Wheel Alignment

Now we'll delve into the crucial task of checking the wheel alignment on your electric bike. Here's where our experience shines, guiding you through measuring techniques and offering troubleshooting tips to ensure a smooth ride.
Start by confirming the chain's alignment with the rear sprocket and the front chainring. This common mistake can lead to poor performance and even damage.
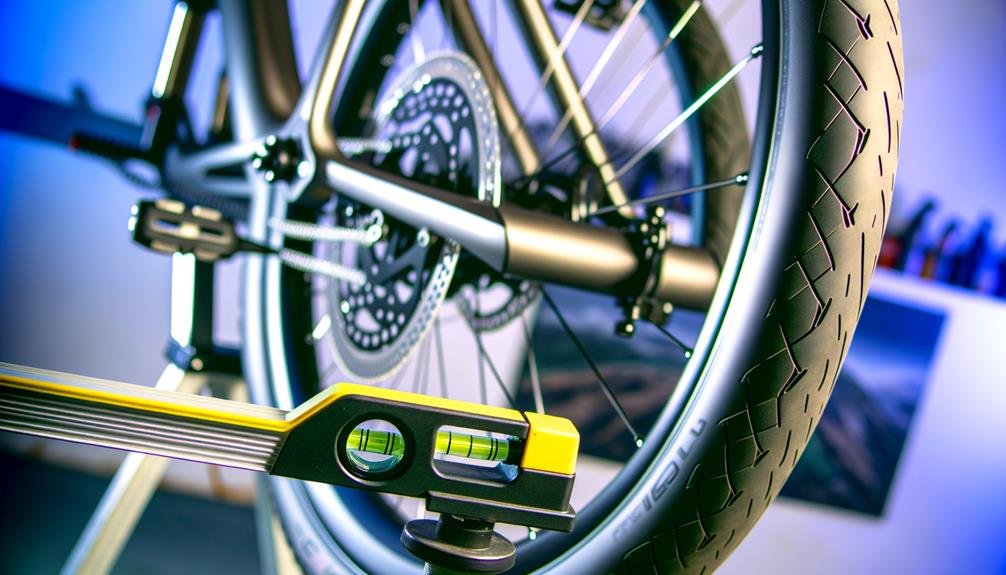
Next, ensure that the rear wheel is centered between the chainstays. Measure the distance from the rim to the chainstays on both sides to verify this. Any imbalance could result in a wobbly ride.
Now, spin the wheel to observe its movement. It should rotate smoothly without any noticeable wobble. If there's any inconsistency, it may indicate a misaligned wheel. Using a ruler or a straight edge, confirm the wheel's alignment with the frame. A properly aligned wheel will be parallel to the frame.
Lastly, inspect your brake pads. They should align with the rim and not rub excessively. Overlooking this can lead to unnecessary wear and tear. Remember, correct wheel alignment isn't only about the ride, it's about the longevity of your bike.
Post Replacement Maintenance Tips
After successfully changing the rear wheel on your electric bike, it's critical to perform some post-replacement checks and maintenance to ensure optimal performance and longevity of your bike. The post-replacement maintenance requires a keen eye and a little patience, but we assure you, it's worth it.
Let's delve into the three main steps to follow:
- Tire Pressure Check: It's essential to check the tire pressure immediately after replacing the wheel. The correct tire pressure is crucial for a comfortable and safe ride. Underinflated tires can make pedaling harder and increase the risk of a puncture. Overinflation, on the other hand, can lead to a harsh ride and tire damage.
- Chain Lubrication: Next, attention should be given to chain lubrication. A well-lubricated chain reduces friction, prolonging the lifespan of your bike's drivetrain. It's advisable to use a lubricant specifically designed for electric bikes.
- Test Ride: Finally, conduct a short test ride to confirm everything is in working order. Listen for unusual noises and pay attention to how the bike handles.
Frequently Asked Questions
Can You Remove the Wheel on an Electric Bike?
Yes, we can remove the wheel on an electric bike. With proper wheel maintenance, power considerations and safety precautions, we're able to handle the task efficiently and safely. It's a routine part of our expertise.
How to Take off a Rear Wheel on a Bike?
We're skilled at removing a bike's rear wheel. After aligning the wheel, we make brake adjustments and conduct a frame inspection. It's not just about taking it off, but ensuring everything's perfect when put back.
How Do You Take the Back Wheel off an Aventon Ebike?
We're experts in Aventon eBike maintenance, especially wheel removal techniques. To remove the back wheel, we'll loosen the nut, cut the zap strap, unplug the motor cable, and lift it out. Rear wheel replacements are a breeze!
How Do You Fix a Flat Tire on an Electric Bike?
We're addressing tire maintenance and puncture prevention today. We'll cover patching techniques for an electric bike's flat tire. It's a simple process that'll keep you on the road and part of our biking community.
Conclusion
We've successfully navigated through the maze of changing an electric bike's rear wheel. It's no small feat, but with the right tools and a dash of patience, we've made it happen.
Now, take your e-bike for a spin, feel the smooth ride of the new wheel, and relish the thrill of a job well done.
Remember, regular maintenance is key, so keep these instructions handy for future use.
Here's to many more safe and exhilarating rides!

Charles Miller is a veteran bike enthusiast with over 12 years of experience dealing with bikes as a mechanic. Despite immense love and expertise for his Tacoma, he rides his Trek Ebike more. Anytime you meet him, you’ll either hear him talking about Bikes, or writing about all things bikes and cars on this blog.
More Posts


