Charles Miller is a veteran bike enthusiast with over 12 years of experience dealing with bikes as a mechanic. Despite immense love and expertise for...
Did you know that nearly 60% of motorcycle owners prefer to do their own maintenance and repairs? We're right there with them. There's something satisfying about getting hands-on with our bikes, and one of the jobs we often tackle is changing tires.
A crucial part of that process is breaking the bead on a motorcycle tire. It's a task that can seem daunting, but with the right tools and technique, it's more straightforward than you might think. Stick with us, and we'll walk you through all the steps, pitfalls to avoid, and tips to make the job easier.
Wouldn't you love to know more?
- Key Takeaways
- Understanding the Bead of a Motorcycle Tire
- Necessary Tools for Bead Breaking
- Preparing Your Motorcycle Tire
- Positioning the Tire Correctly
- Applying Lubrication to the Bead
- Leveraging the Bead Breaker
- Safely Breaking the Bead
- Checking and Rechecking Your Work
- Tips for Bead Breaking Success
- Frequently Asked Questions
- Conclusion
Key Takeaways
- The bead of a motorcycle tire is the edge that sits on the wheel rim and provides stability and safety for the ride.
- Breaking the bead can be challenging, but manual bead breaking tools and tire changing machines are available to assist with the process.
- Rim protectors like Gorilla Tape or old towels can be used to prevent damage to the rim during the bead breaking process.
- Safety precautions such as wearing goggles and gloves, using a quality bead breaker tool, and securing the motorcycle on a stable surface should be followed to ensure a successful and safe operation.
Understanding the Bead of a Motorcycle Tire
When it comes to motorcycle tire maintenance, understanding the bead, the crucial edge of the tire that sits on the wheel rim, is vital for safe and effective tire changing. We've all been there, with a brand new tire in our hands for the first time, wondering exactly how to tackle the beast.
The bead, that tight, resilient edge, keeps the tire firmly in place on the wheel rim. It's robust, it's stubborn, and often it's the toughest part of the tire changing process. We mightn't notice it when we're cruising down the road, but it's always there, providing stability and safety for our ride.
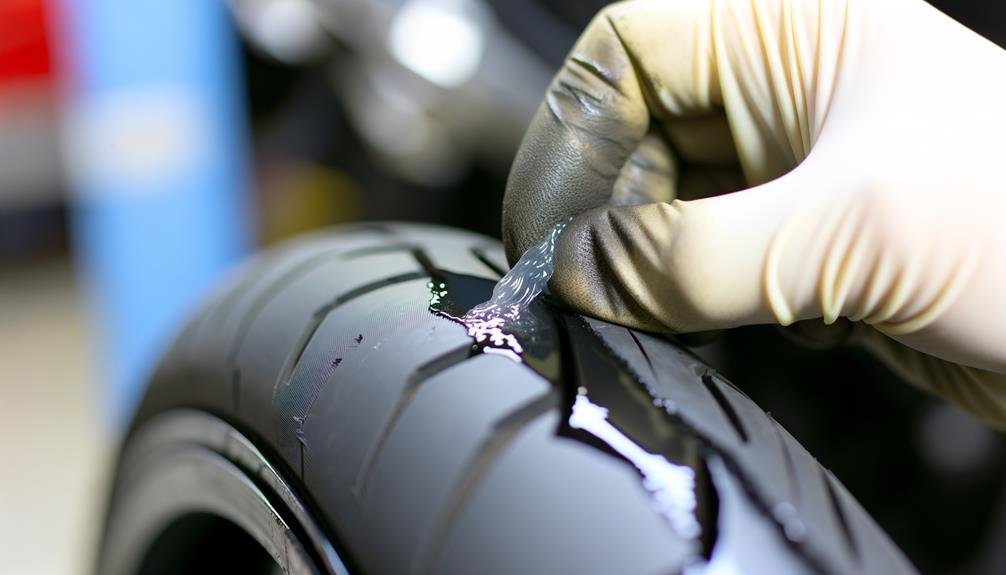
Now, breaking the bead can be a challenge. There are several methods we can use, from manual bead breaking tools to tire changing machines. It's essential to shield the wheel rim from damage, using techniques like Gorilla Tape or old towels. And don't forget, a bit of soapy water, Windex, or a quick tire warm-up can make the process easier.
Necessary Tools for Bead Breaking
To break the bead on a motorcycle tire, we'll need some specific tools: a bead breaker tool or a tire changing machine, rim protectors such as Gorilla Tape or old towels, and a lubricant like soapy water or Windex. These are the necessary tools for bead breaking, and they're crucial for a successful and safe operation.
To paint a clearer picture, here's a rundown of these tools:
- Bead breaker tool or Tire changing machine: These are designed to apply the right amount of pressure to break the bead without damaging the rim or the tire. They're easy to use and highly effective.
- Rim Protectors: These protect the rims from getting scratched or damaged during the process. Old towels, Gorilla Tape, or commercial rim protectors can be used.
- Lubricant: Lubricants like soapy water or Windex make the bead slide off the rim more easily, reducing the effort and risk of damage.
Preparing Your Motorcycle Tire

Before we tackle the actual bead breaking, it's vital to properly prepare our motorcycle tire. First, we'll need to gather our necessary tools – a bead breaking tool or a large C-clamp, rim guards or tape, and a penetrating lubricant like soapy water or Windex.
Additionally, we'll discuss essential safety precautions to ensure we complete the process without causing harm to ourselves or damaging our wheel rim.
Gathering Necessary Tools
Let's start by assembling our necessary tools for the task of breaking the bead on a motorcycle tire. This includes a bead breaker, tire spoons, rim protectors, and lubricant. Breaking the bead might seem daunting, but with the right tools, it's a lot of good, straightforward work.
To paint a clearer picture for you, here's what we'll need:
- A bead breaker: This tool is crucial for separating the tire from the rim.
- Tire spoons: These will help us pry the tire off once the bead is broken.
- Rim protectors: These prevent any damage to the rim during the process.
Lastly, don't forget a good lubricant. It'll make the entire process smoother and protect your tire and rim from any unnecessary wear and tear.
Safety Precautions
Strapping on our safety goggles and gloves, we first ensure the motorcycle is parked on a stable, flat surface with the engine turned off, the bike in gear or securely blocked to prevent any movement. This is one of the essential safety precautions we don't take lightly.
Next, we select a quality bead breaker tool. It's crucial to avoid damaging the tire or rim. Before we begin, deflating the tire completely is a priority to reduce pressure and prevent sudden air releases.
Keep in mind, surroundings matter. Make sure there are no obstacles or hazards that could interfere with the process.
| Safety Precautions | Importance |
|---|---|
| Wear safety goggles & gloves | Protects against debris |
| Use quality bead breaker tool | Prevents tire or rim damage |
| Clear surrounding area | Avoids interference |
Positioning the Tire Correctly
To correctly position the tire for bead breaking, first, ensure it's on a stable and level surface so it won't roll or shift during the process. This initial step is critical to prevent accidental movement that could lead to injury or damage to the tire or rim.
Next, we'll need to orient the tire so that the bead area to be broken is easily accessible. We also have to clear it of any obstructions. It's important to remember that each situation might require a unique approach.
To help you visualize, here are some key points:
- Use tire irons or bead breaking tools. Experiment with different angles to find the best position for effective bead breaking.
- Be gentle with the tire rim. Avoid placing excessive pressure on it to prevent damage during the bead breaking process.
- Double-check the tire's position. It should be secure and won't shift unexpectedly, ensuring a smooth and safe process.
Applying Lubrication to the Bead

Before we tackle the bead, our tire's stubborn foe, it's crucial to apply a generous amount of lubricant—like soapy water, Simple Green, or Windex—to ensure a smooth and successful bead breaking process. By doing so, we're not only making the task less strenuous but also reducing the risk of causing any damage.
Applying lubrication to the bead is a step we shouldn't overlook. It's a vital part of the process, designed to ease our way through this journey. We firmly believe that every detail matters, and this step is no exception.
To do this, we need to generously douse the bead area with our chosen lubricant. This helps in achieving smooth penetration and breakage, making the bead surrender without much fuss. But don't rush in just yet. Let the lubricant sit for a minute or two, allowing it to work its magic on the bead.
Here's a tip from us seasoned riders: consider warming up the tire before applying the lubricant. It enhances the effectiveness, making the bead even more susceptible to our bead breaking efforts. We've found this to be quite a game-changer in our experiences.
Together, we can conquer this task and move forward in our motorcycle maintenance journey.
Leveraging the Bead Breaker
Now we're going to talk about how to best use the bead breaker.
Selecting the right breaker is crucial, not just for ease of use, but also for protecting your tire and rim.
We'll also cover the correct techniques to apply and discuss important safety measures to prevent accidents and damage.
Choosing the Right Breaker
Selecting the right bead breaker for your motorcycle tire isn't just about convenience—it's crucial for efficient and effective bead breaking.
When choosing a bead breaker, we must consider the size and type of tire we're dealing with. A breaker like the Motion Pro Bead Breaker, designed specifically for motorcycle tires, can ease our task. We can even upgrade a basic breaker with modifications for better leverage on tough tires.
- Look for a breaker that offers a good grip
- Ensure it allows for even application of force
- Consider options with modifications for added leverage
Bead Breaker Usage Technique
In order to properly leverage the bead breaker, it's crucial we position it correctly against the tire, ensuring maximum effectiveness and efficiency. Our bead breaker usage technique starts with securing the tool against the tire's rim, making sure it's flush and stable.
Then, we apply downward force to the bead breaker's handle, creating the necessary pressure to dislodge the tire bead from the rim. It's a technique that requires both precision and strength, but with practice, we'll master it.
Safety Measures During Breaking
Prioritizing safety is paramount when leveraging the bead breaker, and this begins with donning safety glasses or goggles to shield our eyes from potential debris. As we step into the world of motorcycle maintenance, we're not just wielding tools, we're embracing a culture of care, precision, and safety.
To ensure safety measures during breaking, we must:
- Secure our motorcycle on a stable surface, ensuring the wheel is firmly clamped. This eliminates unexpected wheel movement that could lead to injury.
- Utilize a bead breaker specifically designed for motorcycle tires, preventing damage to the rim or tire.
- Apply controlled force on the bead breaker, circumventing a sudden release of tension which can cause harm.
Safely Breaking the Bead
Every motorcycle enthusiast should know how to safely break the bead on their tire, a crucial skill that can make all the difference in maintaining the longevity and performance of their ride. Safely breaking the bead isn't a feat to be taken lightly; it requires a blend of finesse and force, coupled with an intimate understanding of your tire's structure.
First, we need to don our safety gear – gloves and protective eyewear are a must. We then deflate the tire entirely, as working on a pressurized tire can lead to sudden, dangerous blowouts. We'll place the wheel on a flat, stable surface, ensuring it won't shift during our operation.
Next comes the bead breaker tool, a specialized piece of equipment designed to separate the bead from the rim. We'll position it at the edge of the rim, applying steady, controlled pressure until the bead dislodges. It's essential to move around the tire, repeating the process, rather than forcing the entire bead loose at once.
Safely breaking the bead on a motorcycle tire is a straightforward process, but it demands respect and caution. With the right approach, we can master this skill, reinforcing our bond with our beloved machines.
Checking and Rechecking Your Work

Once we've successfully dislodged the bead, it's vital to meticulously inspect the tire and the rim to ensure the bead is completely separated and the rim remains undamaged. This is where the process of checking and rechecking your work comes into play. It's not enough to simply remove the bead; our job doesn't end there. We need to be certain that we've done it correctly, without causing any damage to the tire or rim.
- Look at the bead and the rim carefully. The bead should be completely separated. If it's not, we need to repeat the process.
- Examine the rim for any signs of damage. This could be scratches, dents, or bends. If we notice any, that's a sign we've used too much force, and need to be more careful next time.
- Recheck the bead breaker tool and the rim protectors. They should be securely in place, and the tool should be tightened properly. If not, adjust them before proceeding.
Checking and rechecking our work isn't just about ensuring we've done the job right; it's about taking pride in our work, and wanting to be the best we can be. That's the kind of community we belong to.
Tips for Bead Breaking Success
To excel in breaking the bead on a motorcycle tire, there are several strategies we can employ to ensure success.
One of our top tips for bead breaking success is to use the right tools. We can't stress this enough. A bead breaker tool designed specifically for motorcycle tires will make the job much easier and safer.
Another crucial tip is to pay attention to the tire's pressure. Deflate it completely before you start. Trying to break the bead on a fully or partially inflated tire can lead to accidents and damage to the tire or wheel.
Next, let's not forget the importance of lubrication. Applying a sufficient amount of tire lube to the bead will allow the bead breaker to slide more easily, reducing the risk of damaging the tire or wheel.
Lastly, practice makes perfect. The more you do this, the better you'll get at it. So, don't be discouraged if your first few attempts aren't successful. We're all part of the same motorcycle community, learning and improving together. Remember, safety first, patience, and persistence are key to bead breaking success.
Frequently Asked Questions
How Do You Manually Break a Tire Bead?
We're familiar with various bead breaking techniques. First, we'd apply a lubricant around the tire bead. Using a bead breaker tool or tire iron, we'd then apply force to manually break the bead.
How Do You Break a Bead on a Bike Tire?
We're often asked, "how do you break a bead on a bike tire?" Well, we use a bead breaker tool, some Windex, or soapy water. It's simple but essential for bike tire maintenance.
How Do You Break in a Motorcycle Tire Fast?
We'd suggest employing a process called 'Speedy Conditioning'. It involves careful, progressive riding with a gradual increase in speed and lean angles. This method allows us to break in a motorcycle tire swiftly and safely.
What Is a Motorcycle Bead Breaker?
We're talking about a motorcycle bead breaker, a tool we use to separate the tire's bead from the rim. They're available in various types, like manual and hydraulic, tailored to our specific needs.
Conclusion
As we've journeyed together through the bead-breaking process, envision it like cracking a tough nut. It's all about leveraging the right tools and techniques.
The satisfaction of cracking it yourself? Priceless. Just remember, like the 95% of motorcycle owners who change their own tires, patience, preparation, and persistence are key.
Keep practicing, and soon you'll be breaking beads with the best of them. The freedom of the open road awaits – with tires you've mastered yourself.

Charles Miller is a veteran bike enthusiast with over 12 years of experience dealing with bikes as a mechanic. Despite immense love and expertise for his Tacoma, he rides his Trek Ebike more. Anytime you meet him, you’ll either hear him talking about Bikes, or writing about all things bikes and cars on this blog.
More Posts


