
Charles Miller
Founder at - FlybyWheelCharles Miller is a veteran bike enthusiast with over 12 years of experience dealing with bikes as a mechanic. Despite immense love and expertise for...
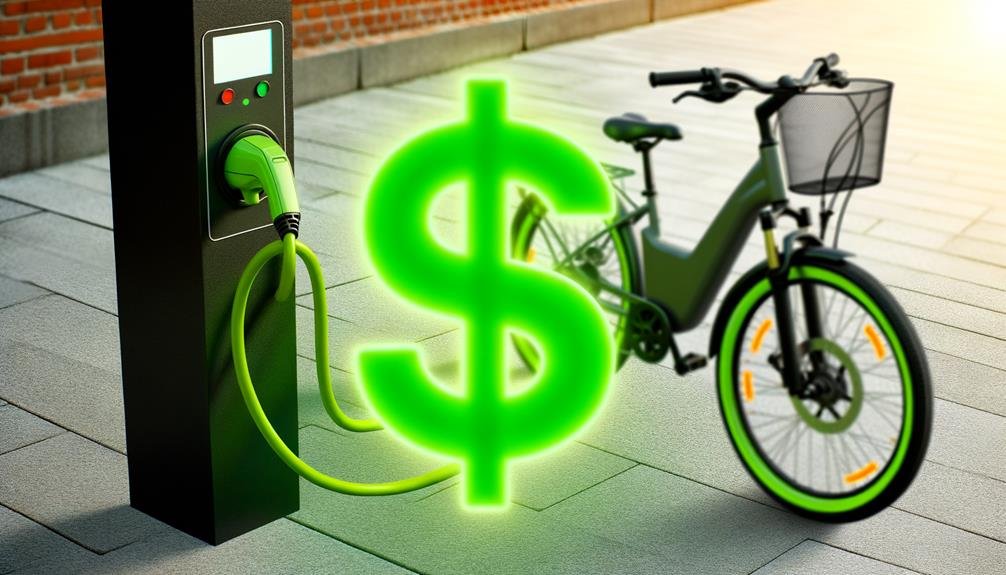
Bike building, particularly piecing together an electric bike kit, can be both a challenge and a charm. We're here to guide you through the process, ensuring that you don't miss a step, and help you transform your traditional two-wheeler into a high-tech e-bike.
From fixing the freewheel to wiring the controller, we'll cover all aspects in detail. Stay with us, for by the end of our discussion, you'll know the ins and outs of assembling an electric bike kit.
And who knows, maybe you can turn this newfound skill into a fun hobby or even a profitable venture.
Key Takeaways
- Understanding the components of an electric bike kit, including the wheel, freewheel, torque arm, battery, and controller.
- Gather the necessary tools and prepare a clean workspace for efficient assembly.
- Follow the steps to assemble the main components, including removing the existing wheel, installing the torque arm, and securing the battery pack and controller.
- Properly connect and test the electrical system, making sure all components are functioning correctly.
Understanding Your Electric Bike Kit
Diving into the heart of our electric bike kit, it's essential to start by identifying and understanding each component, including the wheel, freewheel, torque arm, battery, and controller, among others. These parts are the backbone of your electric bike, each serving a unique and vital role.
The wheel and freewheel are fundamental, designed for optimal performance and durability. The torque arm functions to prevent the motor from spinning out of control, ensuring a safer ride. Our battery, the powerhouse of our electric bike, is wired meticulously for reliability and longevity. The controller, a critical component, manages the overall operations, linking the battery, motor, and additional parts like the thumb throttle, LCD monitor, brake sensor, and pedal assist.
Our electric bike kit doesn't just offer quality components, it also provides the ease of assembly. We've crafted a detailed installation process, allowing you to remove the wheel and freewheel, install the torque arm, wire the battery, and choose controller placement options. Additionally, we've included the installation of the thumb throttle, LCD monitor, brake sensor, and pedal assist.
To us, it's more than just building an electric bike—it's about creating a sense of belonging in this ever-growing community.
Preparing for Assembly
Before we dive into the assembly process, it's essential to gather all necessary tools like wrenches, screwdrivers, and wire cutters, and prepare a clean, well-lit workspace to lay out all the components of our electric bike kit. This first step is crucial in creating a conducive environment for efficient and error-free assembly.
Next, cleanliness is vital. Make sure the bike frame is free from any dirt or debris that could interfere with the assembly process. A clean frame ensures each component fits perfectly and operates optimally.
Furthermore, it's paramount to thoroughly read and understand the assembly instructions. Familiarize ourselves with each component and its installation sequence. This knowledge helps us anticipate potential challenges and devise solutions beforehand.
Lastly, it's important to double-check that all components and parts are included in the kit. Missing parts can halt the assembly process mid-way, causing unnecessary delays and frustrations.
Assembling the Main Components

With our workspace prepared and all parts accounted for, we'll start by removing the existing wheel and freewheel from the bike to make room for the motor hub installation. This step is crucial as it creates the necessary space for the main component of our electric bike kit.
Next, we'll move on to the installation of the torque arm. This component is vital as it transfers energy from the motor and ensures secure wiring connections. Let's meticulously check the fit and make sure it's securely attached.
Now that we've tackled the initial steps, let's proceed with the following:
- Determining the best placement for the battery pack. We need to consider space limitations and security, then lock it securely in place.
- Positioning the controller. It should be securely placed to prevent interference, with options such as side placement, underneath the bike frame, or on top of the case.
- Finally, installing additional components like the thumb throttle, LCD monitor, brake sensor, and pedal assist. We must ensure these parts are securely attached and properly functioning.
Installing the Electrical System
Having secured the main components and ensured their optimal functionality, we're now ready to tackle the installation of the electrical system. To begin with, we'll connect the battery. Make sure to create a secure connection; this is crucial for the proper functioning of your e-bike.
Next, we'll install a torque arm. This piece is responsible for transferring energy from the motor, so it's essential to place it correctly. Follow the manufacturer's instructions closely for this step.
Once the torque arm is in place, we'll then secure the battery. Make sure it's firmly locked to prevent it from moving during your rides. Any movement could disrupt the electrical connections and cause power loss or worse, damage to your e-bike.
The controller is our next focus. Securely install it in a position that won't interfere with your riding. A loose controller can cause interference with the motor and other electrical components.
Lastly, we'll test the functionality of all installed components. This step ensures everything is working as it should and that you're set to enjoy your rides. Make sure to perform this final check – it's the difference between a sweet ride and a potential headache.
Testing and Troubleshooting Your Electric Bike

Now that we've installed all the components, let's dive into the critical process of testing and troubleshooting your electric bike to ensure a safe and smooth ride. This process isn't just essential; it's also easy to take on with a bit of patience and a keen eye for detail.
- Check all connections and wiring: Make sure every wire is firmly attached, and all connections are secure. Loose wiring can lead to an unreliable ride, so this step is crucial.
- Test the throttle and pedal assist modes: Your e-bike should respond smoothly and promptly to both throttle and pedal assist mode. If it doesn't, you're likely dealing with a faulty component that needs replacing.
- Observe speed limits: Always exercise caution when testing your e-bike. Stick to the designated speed limits to ensure safety.
If you encounter any issues during testing, don't panic. We've included a comprehensive troubleshooting guide to diagnose common problems. Follow it step by step, and you'll have your e-bike running perfectly in no time.
Once everything is functioning properly, you can enjoy the benefits of a quiet, powerful ride that feels like a natural extension of yourself.
Frequently Asked Questions
Is It Easy to Assemble an Electric Bike?
"We've found assembling an electric bike fairly straightforward. The kit quality ensures easy installation. We feel more connected when riding, enjoying the additional power and the sense of belonging to the e-bike community."
Are Ebike Conversion Kits Easy to Install?
"We're sailing the same boat, understanding kit compatibility is crucial. Yes, e-bike conversion kits are easy to install. You just need the right tools, follow the instructions, and voila! Your electric bike is ready."
How Long Does It Take to Assemble Ebike?
"We're often asked about the time it takes to assemble an eBike. It's not a quick job. With proper time management, we find it typically takes us between 2-6 hours, depending on our familiarity with the process."
How Do You Fit an Ebike Conversion Kit?
We're fitting an ebike conversion kit by first checking kit compatibility. We'll install the motor hub, secure the battery, set up the controller, and add components like the throttle and monitor. Let's get started!
Conclusion
We've now crossed the finish line in our journey of assembling an electric bike kit. We hope you've found our step-by-step guide helpful and straightforward.
Remember, practice makes perfect, so don't get discouraged if you hit a bump in the road.
We're grateful to ESO bike for providing this fantastic kit. If you're looking to upgrade your ride or seeking a greener commute, consider this powerful and easy-to-assemble e-bike kit.
Happy riding!
Charles Miller is a veteran bike enthusiast with over 12 years of experience dealing with bikes as a mechanic. Despite immense love and expertise for his Tacoma, he rides his Trek Ebike more. Anytime you meet him, you’ll either hear him talking about Bikes, or writing about all things bikes and cars on this blog.
More PostsRelated Posts