Charles Miller is a veteran bike enthusiast with over 12 years of experience dealing with bikes as a mechanic. Despite immense love and expertise for...
As we venture into the realm of 'green commuting,' Ecotric electric bikes have become a popular choice for many. We're here to craft a step-by-step guide on how to assemble an Ecotric electric bike, a task that can seem a bit daunting at first.
Unpacking all the components, attaching the handlebars, inserting the front wheel, connecting the battery, all these steps require precision and patience. But don't worry, once you get the hang of it, you'll realize it's not as complicated as it first appears.
Stay with us, as we're about to embark on a journey that transforms a handful of parts into a transportation device that's not just eco-friendly, but also a joy to ride.
- Key Takeaways
- Unboxing Your Ecotric Electric Bike
- Gathering Necessary Tools
- Installing the Front Wheel
- Attaching the Handlebars
- Installing the Seat
- Mounting the Pedals
- Connecting the Brakes
- Setting Up the Battery
- Testing the Bike's Functionality
- Safety Precautions and Tips
- Frequently Asked Questions
- Conclusion
Key Takeaways
- Carefully inspect the bike components for any damage before assembly.
- Ensure the battery is fully charged before starting the assembly process.
- Familiarize yourself with the bike's features and controls to ensure proper assembly.
- Follow the instructions closely, use the appropriate tools, and double-check the assembly to ensure safety and functionality.
Unboxing Your Ecotric Electric Bike
Let's dive right into unboxing your Ecotric Electric Bike, carefully removing it and all its components from the packaging to ensure everything is accounted for. If you're like us, you'll feel a sense of belonging as you become part of the Ecotric community. A gentle hand is vital during this process to avoid any damage.
Once everything is out, it's time to start inspecting for damage. Take a close look at every component, especially the main body. Any scratches, dents, or other issues could be a sign of mishandling during shipping. If you spot anything, don't hesitate to reach out to the manufacturer. They're there to help and ensure your riding experience is top-notch from the get-go.
Next, we're gathering tools for assembly. The good news is, Ecotric bikes come with the necessary tools for the job. However, having a set of your own tools can be handy for precise adjustments.
Before we move on to assembly, let's check the battery. Make sure it's fully charged before your first ride. Familiarize yourself with the bike's features and controls – you're not just riding a bike; you're embracing a lifestyle.
Now, let's get this beauty on the road!
Gathering Necessary Tools
Before we dive into the assembly process, it's crucial to ensure we have all the necessary tools at our disposal. Gathering necessary tools not only simplifies the assembly process but also helps in troubleshooting common issues that might arise during the assembly.
The following table outlines the tools we'll need for the assembly:
| Tool Name | Purpose |
|---|---|
| Hex Wrench Set | For tightening bolts and screws |
| Pliers | For gripping, bending, and cutting wires |
| Screwdriver Set | For driving in and extracting screws |
Now that we have the list, it's time to gather these tools. We recommend a high-quality hex wrench set, as it will give you the grip and torque needed for tightening bolts and screws. An adjustable wrench can also be handy for dealing with parts of varying sizes. The pliers come in handy when we need to grip, bend, or cut the wires. Lastly, a screwdriver set is essential for driving in and extracting screws.
Installing the Front Wheel
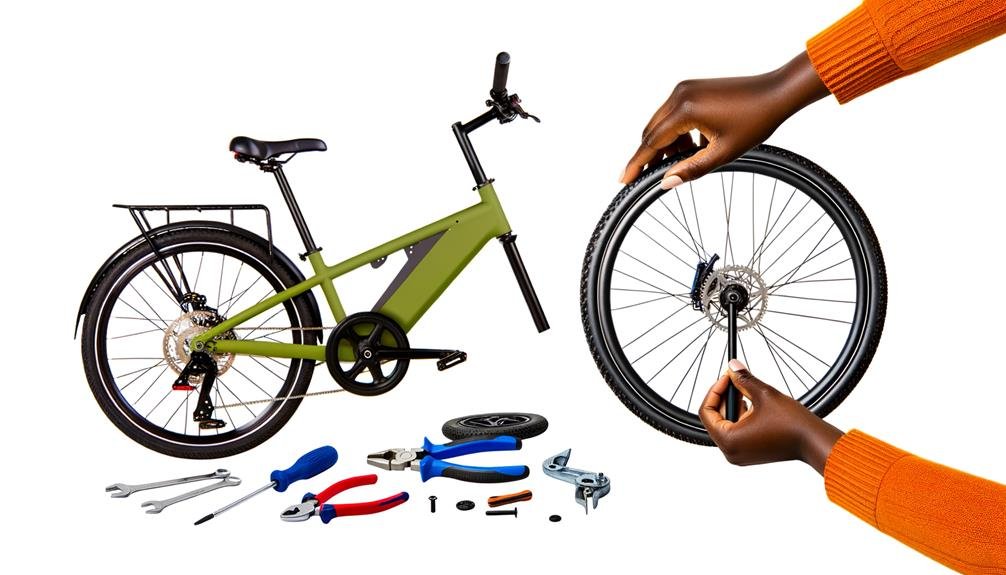
Moving on to our next task, we'll tackle the installation of the front wheel on our Ecotric electric bike.
We'll start with making sure we're properly prepared for the installation.
Then, we'll secure the wheel in place with precision and care.
Preparing for Installation
Gearing up with the necessary tools such as a wrench and a tire lever, we first assure the front fork's alignment with the front wheel, an essential step in successfully installing the front wheel of your Ecotric Electric Bike. Part of this stage involves adjusting the front fork, ensuring it's facing the right direction.
Now, let's consider a detailed checklist:
- Collect all required tools.
- Confirm the front fork's orientation and alignment.
- Check and adjust the axle nuts or quick-release lever on the front wheel.
- Insert the front wheel into the fork, noting the brake rotor's fitting into the caliper.
- Tighten the axle nuts or quick-release lever, ensuring the wheel is centered and secure.
Securing the Wheel
Proceeding with our assembly, let's now secure the front wheel by carefully placing it in the fork dropouts, ensuring that the axle is fully seated in the fork. It's critical that the wheel is centered and straight, so let's tighten the axle nuts or quick-release skewer with care.
Now, let's focus on aligning the rotor. The brake rotor needs to sit properly, so we should double-check its alignment. Confirm the wheel spins freely, without any rubbing or wobbling, by giving it a quick test run.
Lastly, let's ensure the quick-release lever or axle nuts are tightened as per the manufacturer's specifications. By checking alignment and securing the wheel correctly, we're one step closer to completing our Ecotric electric bike assembly.
Final Checks
After securing the wheel, let's now shift our attention to the final checks for installing the front wheel, starting with ensuring that the axle is perfectly aligned with the fork dropouts before we tighten it into place. This step is crucial in ensuring proper alignment and safety.
Here's our detailed checklist to guide you:
- Confirm that the disc brake is properly positioned, not rubbing against the brake pads.
- Make sure the quick release or thru-axle is securely fastened to the fork dropouts.
- Verify the alignment of the front wheel axle with the fork dropouts.
- Focus on checking tire pressure, ensuring it falls within the recommended range.
- Give the wheel a spin to test for smooth rotation without wobble.
Follow these steps for a secure and efficient wheel installation.
Attaching the Handlebars
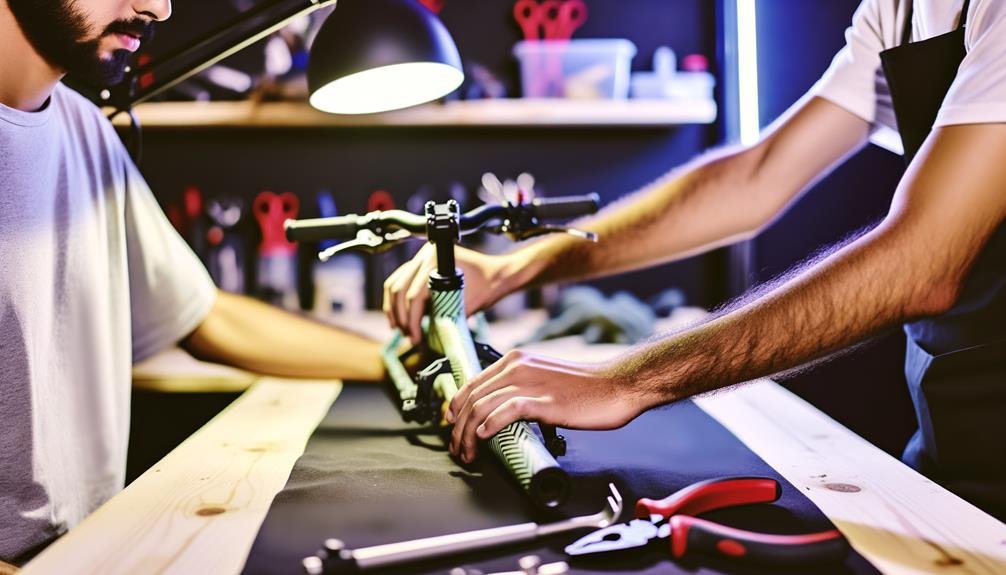
Now that we've installed the front wheel, we'll shift our focus to attaching the handlebars. We'll guide you through the handlebar installation process, making sure we align them correctly and secure them safely.
It's crucial to double-check the tightening of the bolts for secure attachment and proper alignment.
Handlebar Installation Process
In the process of assembling your Ecotric Electric Bike, we'll move on to the pivotal step of attaching the handlebars, ensuring they're aligned with the stem and set at an angle that offers optimal comfort during rides. Being part of this project means understanding the importance of handlebar adjustment and handlebar maintenance.
Let's delve into the process:
- Align the handlebars with the stem, ensuring a straight and comfortable angle for rides.
- Utilize the right tools to tighten the stem bolts, securing the handlebars.
- Double-check for any movement or looseness in the handlebars.
- Position the handlebar grips and controls for optimal comfort and accessibility.
- Test the handlebars' functionality by gently steering and turning.
This detailed guide ensures that you're part of the Ecotric community, riding with confidence and comfort.
Securing the Handlebars Safely
Having secured a comfortable angle for the handlebars, we'll shift our focus to firmly attaching them to ensure a secure and safe ride.
We'll start by ensuring the handlebars are positioned straight and aligned with the front wheel, a crucial step in handlebar alignment.
Then, using the appropriate tools, we'll tighten the handlebar stem clamp bolts securely.
We'll test for any play or movement in the handlebars by firmly gripping and trying to move them.
This is where handlebar height adjustment comes into play, making sure they're at a comfortable height and position for the rider.
Lastly, we'll double-check the handlebar's alignment and tightness before riding for safety.
In this community, we know that safety is paramount, and we're committed to getting it right.
Installing the Seat
Let's proceed to the crucial step of installing the seat on your Ecotric Electric Bike, ensuring careful alignment for optimal comfort and safety. As a community of Ecotric bike enthusiasts, we understand and value the importance of a properly installed and adjusted seat.
Here's a step-by-step guide on installing the seat:
- Start by identifying the seat post and the seat clamp. The seat post is the metal rod that fits into the bike frame, while the seat clamp is the mechanism that secures the seat post at the desired height.
- Slip the seat post into the bike frame's seat tube, ensuring it's not lower than the minimum insertion point.
- Adjust the seat height to your preference, making sure it allows you to touch the ground with your feet when you're seated.
- Tighten the seat clamp using the appropriate tool, usually an Allen wrench.
- Finally, check that the seat is secure by trying to move it side to side. It should remain steady.
We hope this helps in installing your seat and adjusting the seat height correctly. Remember, we're in this journey together, striving for comfort, safety, and enjoyable rides.
Mounting the Pedals
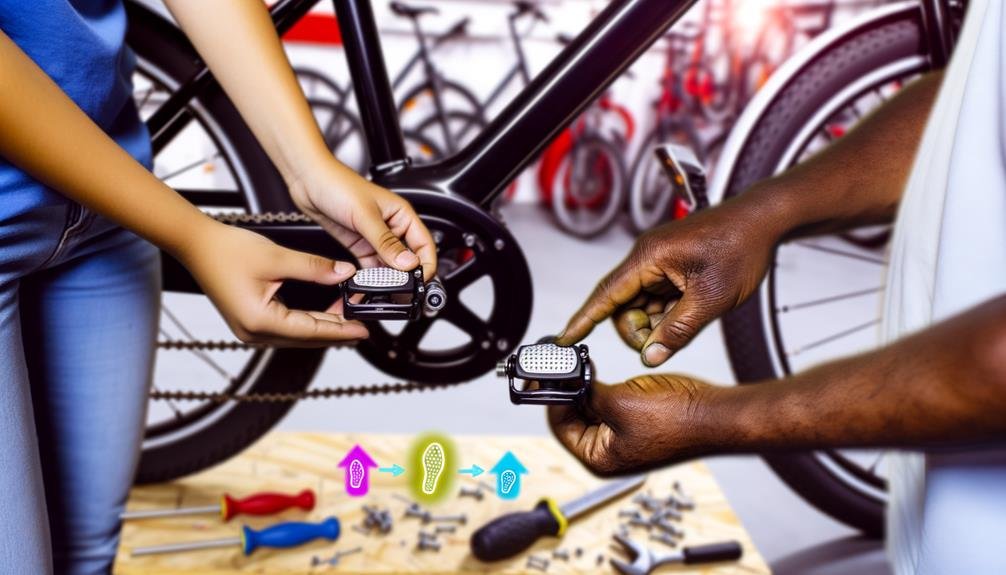
Moving on to the next critical step, we're going to tackle the task of mounting the pedals on your Ecotric Electric Bike. This is a critical procedure, as the pedals are your primary source of control and power. To do this efficiently, you'll need to know the right mounting techniques and understand pedal maintenance.
Firstly, identify the right and left pedals. They're usually marked 'R' and 'L' respectively. Align the right pedal with the right crank arm's threads, and screw it in clockwise using a pedal wrench. The left pedal is reverse-threaded, meaning you'll screw it in counter-clockwise.
Regular pedal maintenance is vital for the longevity of your Ecotric Electric Bike. Make sure you lubricate the pedal threads periodically to prevent rust and ensure smooth operation. A dry lubricant works best as it won't attract dirt and grime.
Also, check the pedals for any signs of wear. If the pedals are wobbly or make unusual noise, it's time to replace them.
Connecting the Brakes
Now, let's move on to connecting the brakes on your Ecotric electric bike.
We'll start by tackling the essentials of brake assembly.
Then, we'll guide you on the right way to adjust the brake pads for optimum performance.
Lastly, we'll show you how to secure the brake cables properly to ensure your safety and the bike's functionality.
Brake Assembly Essentials
Diving right into the brake assembly essentials, we first connect the brake cables to the brake levers situated on the handlebars. Ensuring the cables are routed correctly and securely fastened is critical for optimal brake function.
To keep you in the loop, here's a simple guide:
- Adjust the brake cable tension for proper braking function
- Perform brake engagement testing to ensure smooth and effective operation
- Double-check all connections for safety
- Make sure all adjustments are secure before hitting the road
- Regularly inspect your brakes for wear and tear
In creating a community of safe riders, it's paramount we pay close attention to these steps. Done correctly, you'll enjoy a smooth, secure ride on your Ecotric electric bike.
Adjusting the Brake Pads
To ensure optimal braking performance on your Ecotric electric bike, let's delve into the crucial task of adjusting the brake pads. To start, we need to loosen the brake pad fixing screws using an Allen wrench. This creates enough space for the brake pads to fit over the bike's wheel rim.
Next, let's align the brake pads, ensuring they are centered and symmetrically positioned. This step is crucial for adjusting brake pad alignment. Once aligned, we tighten the brake pad fixing screws securely using the Allen wrench. This holds the pads firmly in place.
Now, we'll squeeze the brake lever to double-check that the pads make contact with the rim. If they don't, we'll need to adjust them accordingly.
| Step | Action |
|---|---|
| 1 | Loosen fixing screws |
| 2 | Align brake pads |
| 3 | Tighten fixing screws |
With these steps, troubleshooting brake pad noise should be a breeze! Test the brakes thoroughly to ensure they are functioning optimally.
Securing the Brake Cables
After ensuring the brake pads are properly adjusted, we'll move on to the equally important task of securing the brake cables on our Ecotric electric bike. This step is crucial in ensuring a safe ride.
- First, locate the brake cable and its corresponding lever.
- Next, adjust the brake tension by pulling the cable through the lever until you achieve the desired tension.
- Secure the cable with the bolt on the lever, making sure it's tight enough to hold the cable in place.
- Test the tension by squeezing the brake lever.
- Lastly, troubleshoot any brake issues by revisiting these steps and making necessary adjustments.
With these steps, we aren't just assembling a bike, we're creating a secure and reliable means of transportation.
Setting Up the Battery
With the frame and wheels in place, let's now tackle the critical step of setting up the battery on your Ecotric electric bike. This process is vital as the battery is the lifeblood of your electric bike, powering your journeys and adventures.
Firstly, locate the battery compartment, typically found beneath the bike's seat. Unpack the battery and slide it carefully into the housing, ensuring a snug fit. Once it's secure, connect the battery cables to the bike's electrical system. Make sure the connections are firmly made; loose connections can lead to power loss or even damage to the bike's electrical system.
Battery maintenance is an essential part of owning an Ecotric electric bike. Proper care and attention to your battery can prolong its lifespan and maintain optimal performance. Regularly check the battery for any signs of damage or wear and keep it clean from dust and grime.
Charging practices too play a significant role in battery longevity. Always use the charger provided by Ecotric as it's specifically designed for your bike's battery. Avoid overcharging by unplugging once the battery is fully charged. Following these practices ensures your battery remains healthy and your bike ready for the road.
Testing the Bike's Functionality
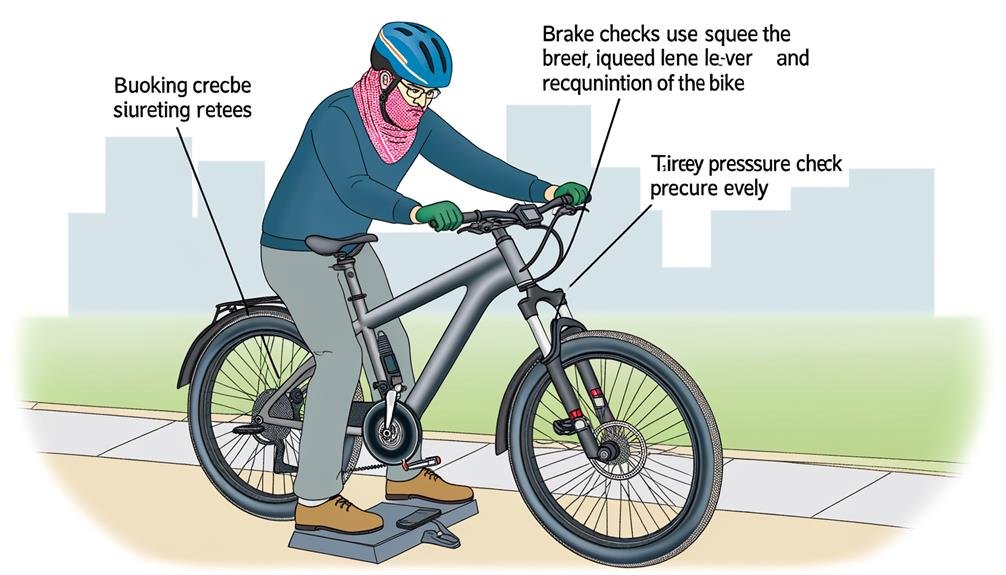
Before hitting the road on your Ecotric electric bike, it's crucial we conduct a thorough functionality test, ensuring the battery's properly connected and fully charged, and all features are operating as expected. This critical step of testing the bike's battery life will ascertain the bike's power endurance for your rides.
Now, let's delve into the specifics:
- First, ensure the battery is fully charged and properly connected to the bike. A loose or improperly connected battery can lead to inconsistent power supply.
- Next, test the electric motor by engaging the throttle. Look out for smooth acceleration, a key indicator of optimal motor function.
- Check the brakes for responsiveness and efficient stopping power. Safety is paramount, folks!
- Cycle through the gears. Smooth transitions and proper functioning are vital for an enjoyable ride.
- Lastly, verify the functionality of the display panel and any additional features, such as lights or horn. These contribute to a safe and regulated ride.
During this process, you may encounter some hitches. Don't worry! Troubleshooting common issues with electric bikes is part of the journey. Remember, we're in this together. With a little patience and attention to detail, you'll have your Ecotric electric bike road-ready in no time.
Safety Precautions and Tips
Let's now dive into the crucial aspect of safety precautions and tips, which are pivotal during the assembly process of your Ecotric electric bike to ensure a safe and efficient setup. The importance of safety gear can't be overstated. Donning protective gear such as gloves and safety glasses can shield you from potential injuries.
We also advise you to work in a well-lit, spacious area for proper visibility and maneuverability. This setup will also safeguard against common assembly mistakes, like misplacing components or incorrect installations. Keep distractions at bay, including children and pets, to maintain focus and prevent any mishaps.
The right tools for the job are essential. Follow the manufacturer's instructions diligently, using appropriate tools to ensure a secure bike assembly. Remember, precision is key in this process and it's better to take your time than rush and make mistakes.
Lastly, double-checking is your safety net. Make sure all connections and fastenings are secure before you take your Ecotric electric bike for a spin. Your safety and the bike's functionality depend on a thorough and cautious assembly process.
We're here with you every step of the way, ensuring you feel a sense of belonging in the Ecotric community.
Frequently Asked Questions
How Do You Assemble an Ebike?
We're assembling our ebike by starting with the handlebars, then the front wheel. We'll secure the battery installation next, ensuring it's fastened right. Lastly, we'll adjust the seat for comfort and double-check all connections.
Are Ebikes Hard to Assemble?
"We've tackled more assembly challenges than stars in the sky. Ebikes aren't hard to assemble, but proper tool requirements are essential. We're all in this together, learning, improving, and conquering any assembly difficulties that arise."
How Do You Put a Chain Back on an Electric Bike?
We're experienced in chain maintenance and troubleshooting derailleur issues. When putting a chain back on an electric bike, we carefully loop it around the chainring, thread it through the derailleur, and check tension.
How Do You Fold an Ecotric Electric Bike?
We're discussing how to fold an Ecotric electric bike. You'll locate the bike's folding mechanism, usually in the middle. We'll ensure it's securely folded, providing compact storage solutions for your convenience.
Conclusion
Well folks, we've put our back into it and now we've got our Ecotric electric bike ready to hit the road. We've tightened every bolt, adjusted the seat, and tested the brakes.
The battery's hooked up and we're confident it's as fit as a fiddle. Remember, safety first. Always check your bike before a ride.
Now, it's time to enjoy the open road and the wind in your hair on your freshly assembled Ecotric electric bike. Happy riding!

Charles Miller is a veteran bike enthusiast with over 12 years of experience dealing with bikes as a mechanic. Despite immense love and expertise for his Tacoma, he rides his Trek Ebike more. Anytime you meet him, you’ll either hear him talking about Bikes, or writing about all things bikes and cars on this blog.
More Posts


