Charles Miller is a veteran bike enthusiast with over 12 years of experience dealing with bikes as a mechanic. Despite immense love and expertise for...
Imagine you're in the Wild West and instead of assembling a trusty steed, you're tasked with assembling a Nakto Electric Bike. It's a modern-day challenge that's not as complex as it may initially seem. With a few straightforward instructions, some basic tools, and a bit of patience, you'll have your e-bike assembled and ready to hit the trails or the city streets.
However, there's more to it than just attaching a few components. What are the crucial steps to ensure a safe and comfortable ride? Let's take a closer look at the process.
- Key Takeaways
- Unboxing Your Nakto Electric Bike
- Understanding the Components
- Gathering the Required Tools
- Installing the Front Wheel
- Securing the Handlebars
- Attaching the Pedals
- Setting up the Electric System
- Adjusting Bike to Fit Rider
- Safety Checks Before Your First Ride
- Frequently Asked Questions
- Conclusion
Key Takeaways
- Carefully inspect and unpack the bike, checking for any damage before assembly.
- Familiarize yourself with the different components of the bike and their functions.
- Gather and understand the essential tools needed for the assembly process.
- Perform safety checks before your first ride, including testing brakes, checking tire pressure, and verifying secure attachment and alignment of parts.
Unboxing Your Nakto Electric Bike
Before you begin assembling your Nakto Electric Bike, carefully unpack it from the box, making sure that all parts are included and undamaged, and use the provided tools such as a screwdriver, double open-end wrench, and allen wrenches for the upcoming assembly process. As a proud member of the Nakto community, your careful handling of these components shows respect for the craftsmanship that goes into every bike.
Stand your bike upright, ensuring stability by placing foam padding under the front fork. This step is crucial, especially when you're preparing to install the 3 Fat Tire on the front. Inspect the front tire and other parts keenly for any damage. Your Nakto bike deserves the utmost care and attention, and you're now part of that journey.
Separate all parts from the packaging box and prepare for the assembly. Make sure to keep all tools within arm's reach, so the process goes smoothly. This isn't just any bike, it's a Nakto, and as such, your precise, technical approach to assembly will ensure it performs as brilliantly as it was designed to. Welcome to the Nakto family. Let's get building!
Understanding the Components
In understanding the components of your Nakto Electric Bike, you'll need to start by identifying each part and its respective function.
This process requires you to separate and examine each element, from the front wheel to the brake system.
Additionally, knowing the essential tools needed for assembly will allow you to put together your bike accurately and efficiently.
Bike Component Breakdown
To get your Nakto Electric Bike up and running, you'll first need to familiarize yourself with its key components – the front wheel, handlebar, front fender, headlight, and front brake system – and the tools required for assembly.
By mastering bike component identification, you'll be able to troubleshoot common assembly issues effectively.
Each part plays a crucial role in the bike's overall performance. For instance, the front wheel aids in balance while the handlebar directs your bike's path.
The front fender protects against debris and the headlight ensures visibility. The front brake system, vital for safety, requires careful assembly and adjustments for even pad clearance.
Essential Tools Needed
You'll need a few essential tools for the assembly of your Nakto Electric Bike: a screwdriver, a double open-end wrench, allen wrenches, scissors, and a bike pump. Understanding tool functions will make the assembly process smoother.
Organize your workspace with these necessary assembly tools:
| Tool | Function | Importance |
|---|---|---|
| Screwdriver | Connect components | Essential |
| Double open-end wrench | Tighten/loosen nuts | Crucial |
| Allen wrenches | Adjust screws | Required |
| Scissors | Open packaging | Handy |
| Bike pump | Inflate tires | Needed |
Each tool plays a significant role in ensuring a successful assembly. Having a well-structured workspace with your tools at arm's reach means you'll feel more confident and belong to the community of Nakto Electric Bike enthusiasts.
Gathering the Required Tools
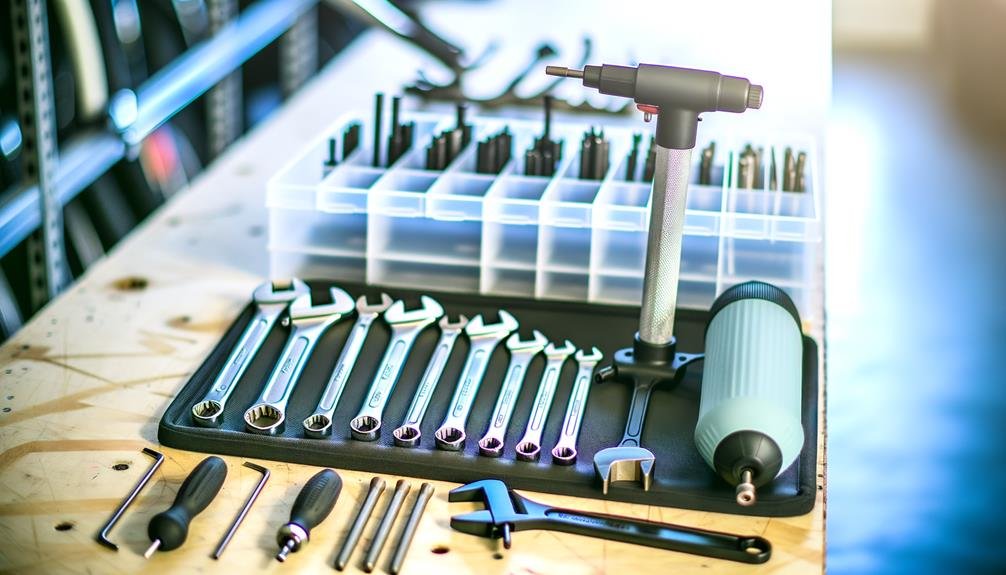
Before you start assembling your Nakto Electric Bike, ensure you've gathered all the necessary tools including a screwdriver, double open-end wrench, and allen wrenches.
Don't forget to have a pair of scissors and a bike pump nearby for unpacking and preparation.
Keep your workspace clean and organized to prevent any tool mishaps during the assembly process.
Necessary Assembly Tools
Gathering the right tools is the first step in assembling your Nakto Electric Bike. Ensure you have a screwdriver, double open-end wrench, allen wrenches, scissors, and a bike pump at hand as per the assembly instructions. Understanding tool functions is crucial to a successful assembly.
Organizing your workspace effectively is also key. Create two main zones:
- Tool Zone
- Screwdriver: for tightening screws
- Double open-end wrench: for adjusting bolts
- Allen wrenches: for specific screws
- Scissors: for cutting packaging materials
- Bike pump: for inflating the tires
- Bike Parts Zone
- Unpacked e-bike
Lastly, always take safety precautions while assembling. Check the bike for any damage before beginning, and place foam padding under the front fork to prevent any accidental harm.
Understanding Tool Functions
Armed with a screwdriver, double open-end wrench, allen wrenches, scissors, and a bike pump, it's essential to understand the specific function of each tool in the assembly process of your Nakto Electric Bike.
The screwdriver tightens and loosens screws securing components.
The double open-end wrench adjusts the bike's nuts and bolts, while allen wrenches provide leverage for the hex socket screws.
Scissors make unpacking easier, and the bike pump inflates the tires.
Understanding tool functions ensures proper tool usage. It's crucial to use the correct tools to avoid damaging parts and ensure a smooth assembly.
Organizing Your Workspace
Having comprehended the role each tool plays in assembling your Nakto Electric Bike, it's time to arrange your workspace and collect all the necessary equipment. Optimal tool preparation and workspace organization are vital for an efficient assembly process.
Your workspace should be clear and spacious enough to accommodate the bike and its parts. Organize your tools and parts as follows:
- Tools:
- Gather a screwdriver, double open-end wrench, and allen wrenches.
- Additionally, have scissors and a bike pump ready.
- Bike Parts:
- Unpack the bike and separate all components.
- Stand the bike upright, placing foam padding under the front fork for stability.
Before starting, inspect the bike and all included pieces for damage. Proper workspace efficiency ensures a smooth assembly process.
Installing the Front Wheel
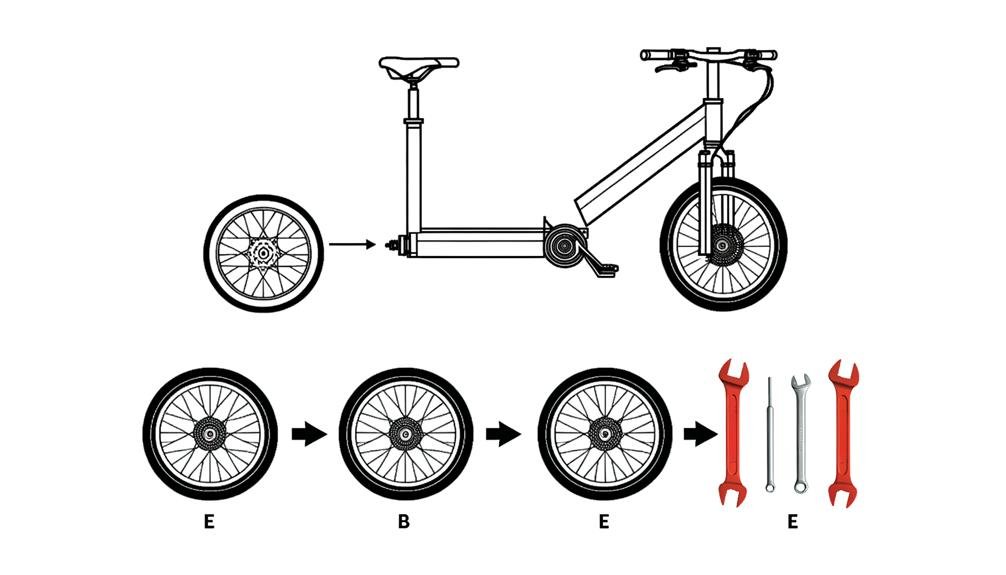
With careful precision, you'll need to loosen the axle nuts on the front wheel, creating enough space for the front fork. Use a double open-end wrench for the task, turning it counterclockwise. Remember, in your Nakto community, we all respect the attention to detail this process deserves.
Once the axle nuts are loose, gently remove the brake cable from the left arm linkage. Lift the front of your Nakto e-bike, and ever so carefully, lower the fork onto the wheel axle. You're doing great, and this is where the magic happens.
Aligning the fork with the wheel axle is the next crucial step. Make sure the axle lock washers are properly aligned with the hole at each end of the fork. These washers will keep the axle secure and your ride safe.
Securing the Handlebars
Now that your front wheel is firmly in place, it's time to secure the handlebars, a crucial step in ensuring a comfortable and safe ride. The importance of handlebar security can't be overstated. A loose or poorly aligned handlebar can cause unnecessary strain on your wrists, or worse, lead to loss of control while riding.
Let's walk through the process:
- First, insert the handlebar stem into the frame neck. Your height and comfort level will dictate the handlebars' proper position.
- Now, align it with the front fork. Proper handlebar alignment is key for smooth and safe steering.
- Once in place, tighten the bolt at the top of the handlebar stem. This secures the handlebars to the frame.
To avoid common handlebar assembly mistakes, follow these checks:
- Perform a twist test. The handlebars should remain firm if you try to twist them side to side.
- Do a repeat twist test to double-check the alignment.
- Lastly, make sure the handlebars are securely tightened before proceeding to the next step.
Attaching the Pedals
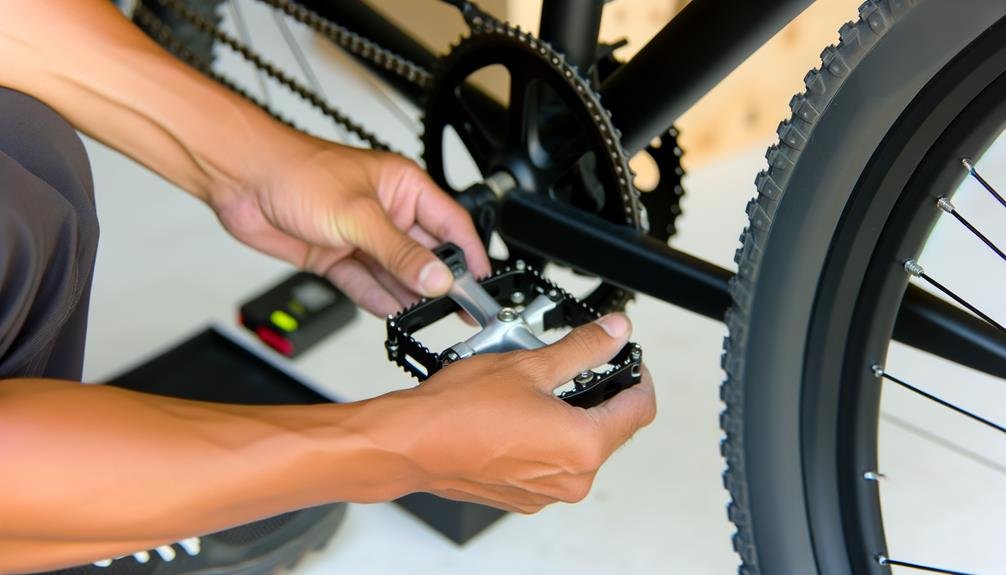
After ensuring the handlebars are secure and aligned, let's turn our attention to attaching the pedals, an essential part of the Nakto Electric Bike assembly process. First, it's crucial to identify the left and right pedals. They're labeled 'L' and 'R' respectively, so don't mix them up.
Here are some pedal installation tips for you. Prior to screwing, apply grease to the pedal threads. This helps to prevent common pedal installation mistakes such as cross-threading or over-tightening. Remember, the 'R' pedal is screwed in clockwise and the 'L' pedal is screwed in counterclockwise.
| Step | Action | Direction |
|---|---|---|
| 1 | Identify the pedals | 'L' for left and 'R' for right |
| 2 | Apply grease | To the pedal threads |
| 3 | Screw in the pedals | 'R' clockwise, 'L' counterclockwise |
| 4 | Tighten | Using a pedal wrench |
Lastly, don't forget to double-check the tightness of the pedals and their alignment before hitting the road. If there's any issue, troubleshooting pedal installation is easier than you might think. Just unscrew the pedals, check the threads, apply more grease if needed, and carefully screw them back in. You're part of the Nakto Electric Bike community now, so let's ride safely!
Setting up the Electric System
Let's delve into the heart of your Nakto Electric Bike's functionality – setting up the electric system. This process includes connecting the battery, aligning the motor, and testing functionality. Each step is crucial to ensure a smooth, efficient ride.
Start with:
- Connecting the battery: Attach the battery to your bike frame and secure it properly. This ensures a steady power supply for your bike's electric system.
- Check the battery's connectors and ensure they're clean and free from damage.
- Securely fasten the battery to prevent it from dislodging while riding.
Next, focus on:
- Aligning the motor: The motor should be attached to the frame accurately for optimal performance.
- Make sure the motor is aligned with the bike's drivetrain.
- Connect the motor to the battery, ensuring all connections are secure and tight.
Lastly, don't forget:
- Testing functionality: This is the final step to guarantee that all components are working seamlessly.
- Install the pedal assist sensor and connect it to the motor system.
- Test the entire electric system before hitting the road.
Adjusting Bike to Fit Rider
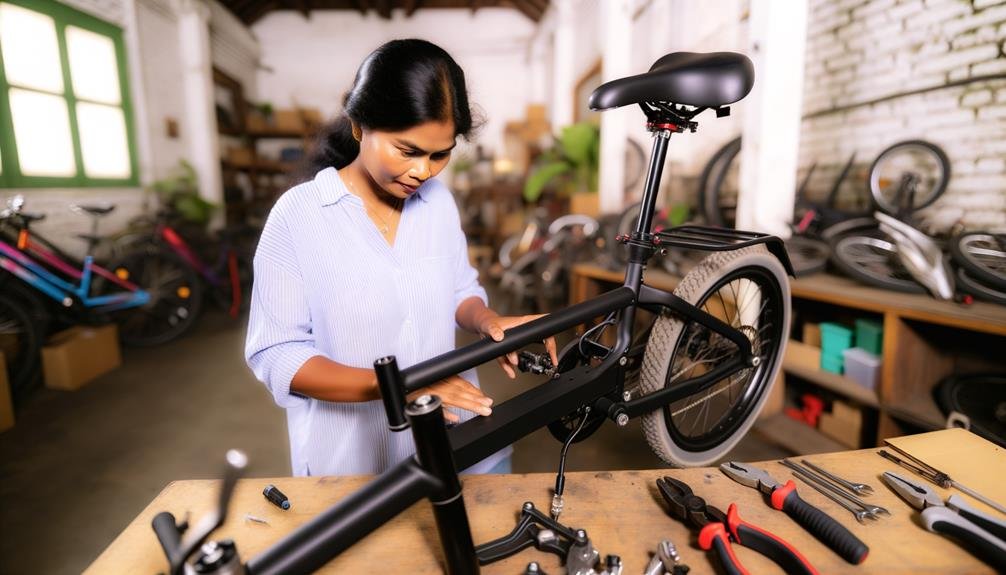
Having set up the electric system, your next step involves making necessary adjustments to the bike to ensure it perfectly fits the rider. Achieving the right bike fit is crucial for rider comfort, safety, and performance.
First, adjust the seat height to provide a comfortable leg extension while pedaling. This ergonomic adjustment is vital for efficient energy transfer and to prevent strain on the knees.
Next, ensure the handlebar is at a comfortable height and angle for the rider's reach and posture. This adjustment aids in maintaining proper body alignment and control over the bike.
Now, check and personalize the brake levers to the rider's hand size and preference, ensuring a comfortable grip and effective braking response.
Don't forget to adjust the pedal position and foot straps. A secure fit for the rider's feet promotes balance and smooth pedaling.
Finally, check the suspension and shock settings. If applicable, make adjustments to ensure the rider's weight is evenly distributed across the bike, mitigating the impact of bumps and enhancing ride smoothness.
These steps will help customize your Nakto Electric Bike for optimal comfort and performance. Remember, a well-adjusted bike not only enhances enjoyment but also minimizes the risk of injury.
Safety Checks Before Your First Ride
Before you set off on your first journey with your Nakto Electric Bike, it's crucial to perform several safety checks to ensure optimal performance and rider safety. You're now part of the Nakto community, and we want you to enjoy your ride while staying safe.
First, start by checking your brakes. Ensure that they're functioning properly by testing them for responsiveness and effectiveness.
- Inspect the brake pads for wear and adjust them for even clearance on both sides.
- Double-check the brake lever for smooth operation.
Next, it's time to focus on adjusting your tire pressure. Check the pressure and adjust as needed to match the recommended PSI for your e-bike.
- A well-inflated tire will provide a smoother, more efficient ride.
Lastly, ensure your handlebars are in alignment. Verify that they're securely tightened and aligned to prevent any wobbling or misalignment.
- Misaligned handlebars can affect your steering accuracy and overall safety.
As part of your checks, don't forget to inspect other parts like the front fender and headlight for secure attachment and alignment. These steps will ensure you're ready to enjoy your Nakto Electric Bike safely and confidently.
Frequently Asked Questions
How Do You Assemble an Ebike?
You'll need your bike components, installation tools, and safety measures in check. Start by unpacking your e-bike, assembling the front wheel and handlebar, attaching the front fender and headlight, and adjusting the front brake system.
Are Electric Bikes Hard to Assemble?
No, electric bikes aren't hard to assemble. With basic tools and a bit of time, you'll handle it. The assembly difficulty varies, but you'll feel accomplished once you've put it all together.
How Do You Put an Ebike Chain Back On?
You're tackling chain maintenance like a pro. To put an ebike chain back on, just guide it onto the sprockets, reconnect it with a chain tool, ensure proper alignment, and test for a smooth ride.
Can You Make a Nakto Electric Bike Faster?
Yes, you can make your Nakto electric bike faster. Try speed modifications like adjusting the motor controller, upgrading the battery, or installing a larger sprocket. Performance boosting options are also available.
Conclusion
Now, you're ready to conquer the roads with your newly assembled Nakto electric bike. Like a seasoned mechanic, you've handled every component with precision.
You've spun the wheels of progress, tightened the bonds of security with the handlebars, sparked life into the electric system, and adjusted the bike to your perfect fit.
Remember, your bike isn't just a machine, but a symbol of freedom, mobility, and sustainable living. Ensure its longevity with regular safety checks.
Happy riding!

Charles Miller is a veteran bike enthusiast with over 12 years of experience dealing with bikes as a mechanic. Despite immense love and expertise for his Tacoma, he rides his Trek Ebike more. Anytime you meet him, you’ll either hear him talking about Bikes, or writing about all things bikes and cars on this blog.
More Posts
